Top Menu
The top menu gathers the features used most often in the program, such as connecting a dongle and a robot, or saving and opening files.
Below we explain the features of each menu in order.
Logo
This is the program's logo.
Clicking the logo refreshes the page.
When the block coding editor is active, the logo text reads Block Composer.
When the Python editor is active, the logo text reads Script Composer.
Dongle
You can search for the dongle that communicates with the robot and connect it to the program.
To control a robot from the program, you must first connect the dongle that communicates with the robot to the program.
This process is called pairing.
When you press the Dongle button, the list of dongles currently available on your PC is shown.
Select the dongle you want from the list and click the Connect button, and the dongle is connected to the program.
Checking the dongle connection status
Once a dongle has been connected to the program, it is connected automatically the next time you use the program.
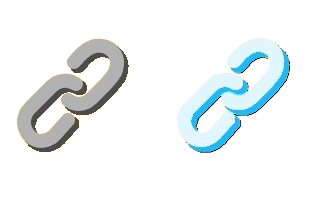
When a dongle is properly connected to the program, the icon turns sky blue.

If the browser tab shows an icon like the one in the following image, you can tell that the dongle is connected.
⚠️ Caution
If the dongle is already connected to another program or another page, it will not connect to this program.
In that case, find the program the dongle is connected to and disconnect it, then come back to this page and try connecting again.
Robot
You can select the robot to use in the program and register that robot's information and its dedicated blocks / script code.
To control a robot from the program, you must first add the information and the blocks of the robot you will use to the program.
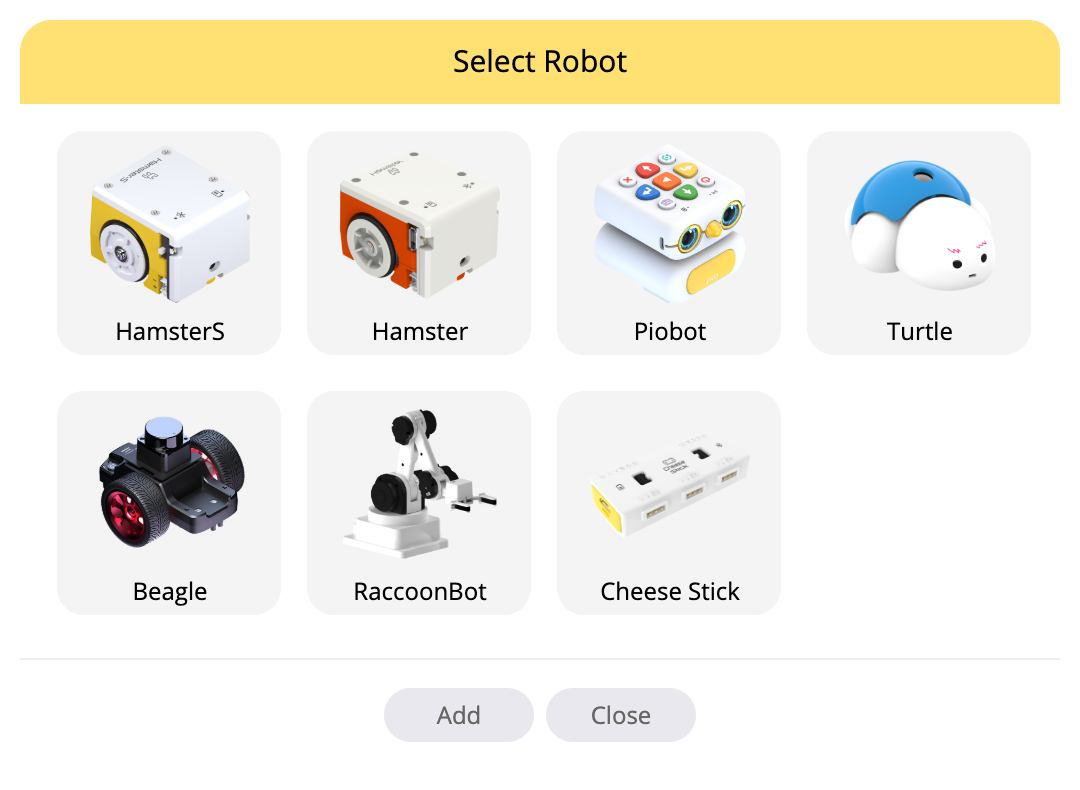
When you press the Robot button, a popup shows the list of robots available in the program.
Select the robot you want and click the Add button, and that robot's information and its dedicated blocks / script code are registered in the program.
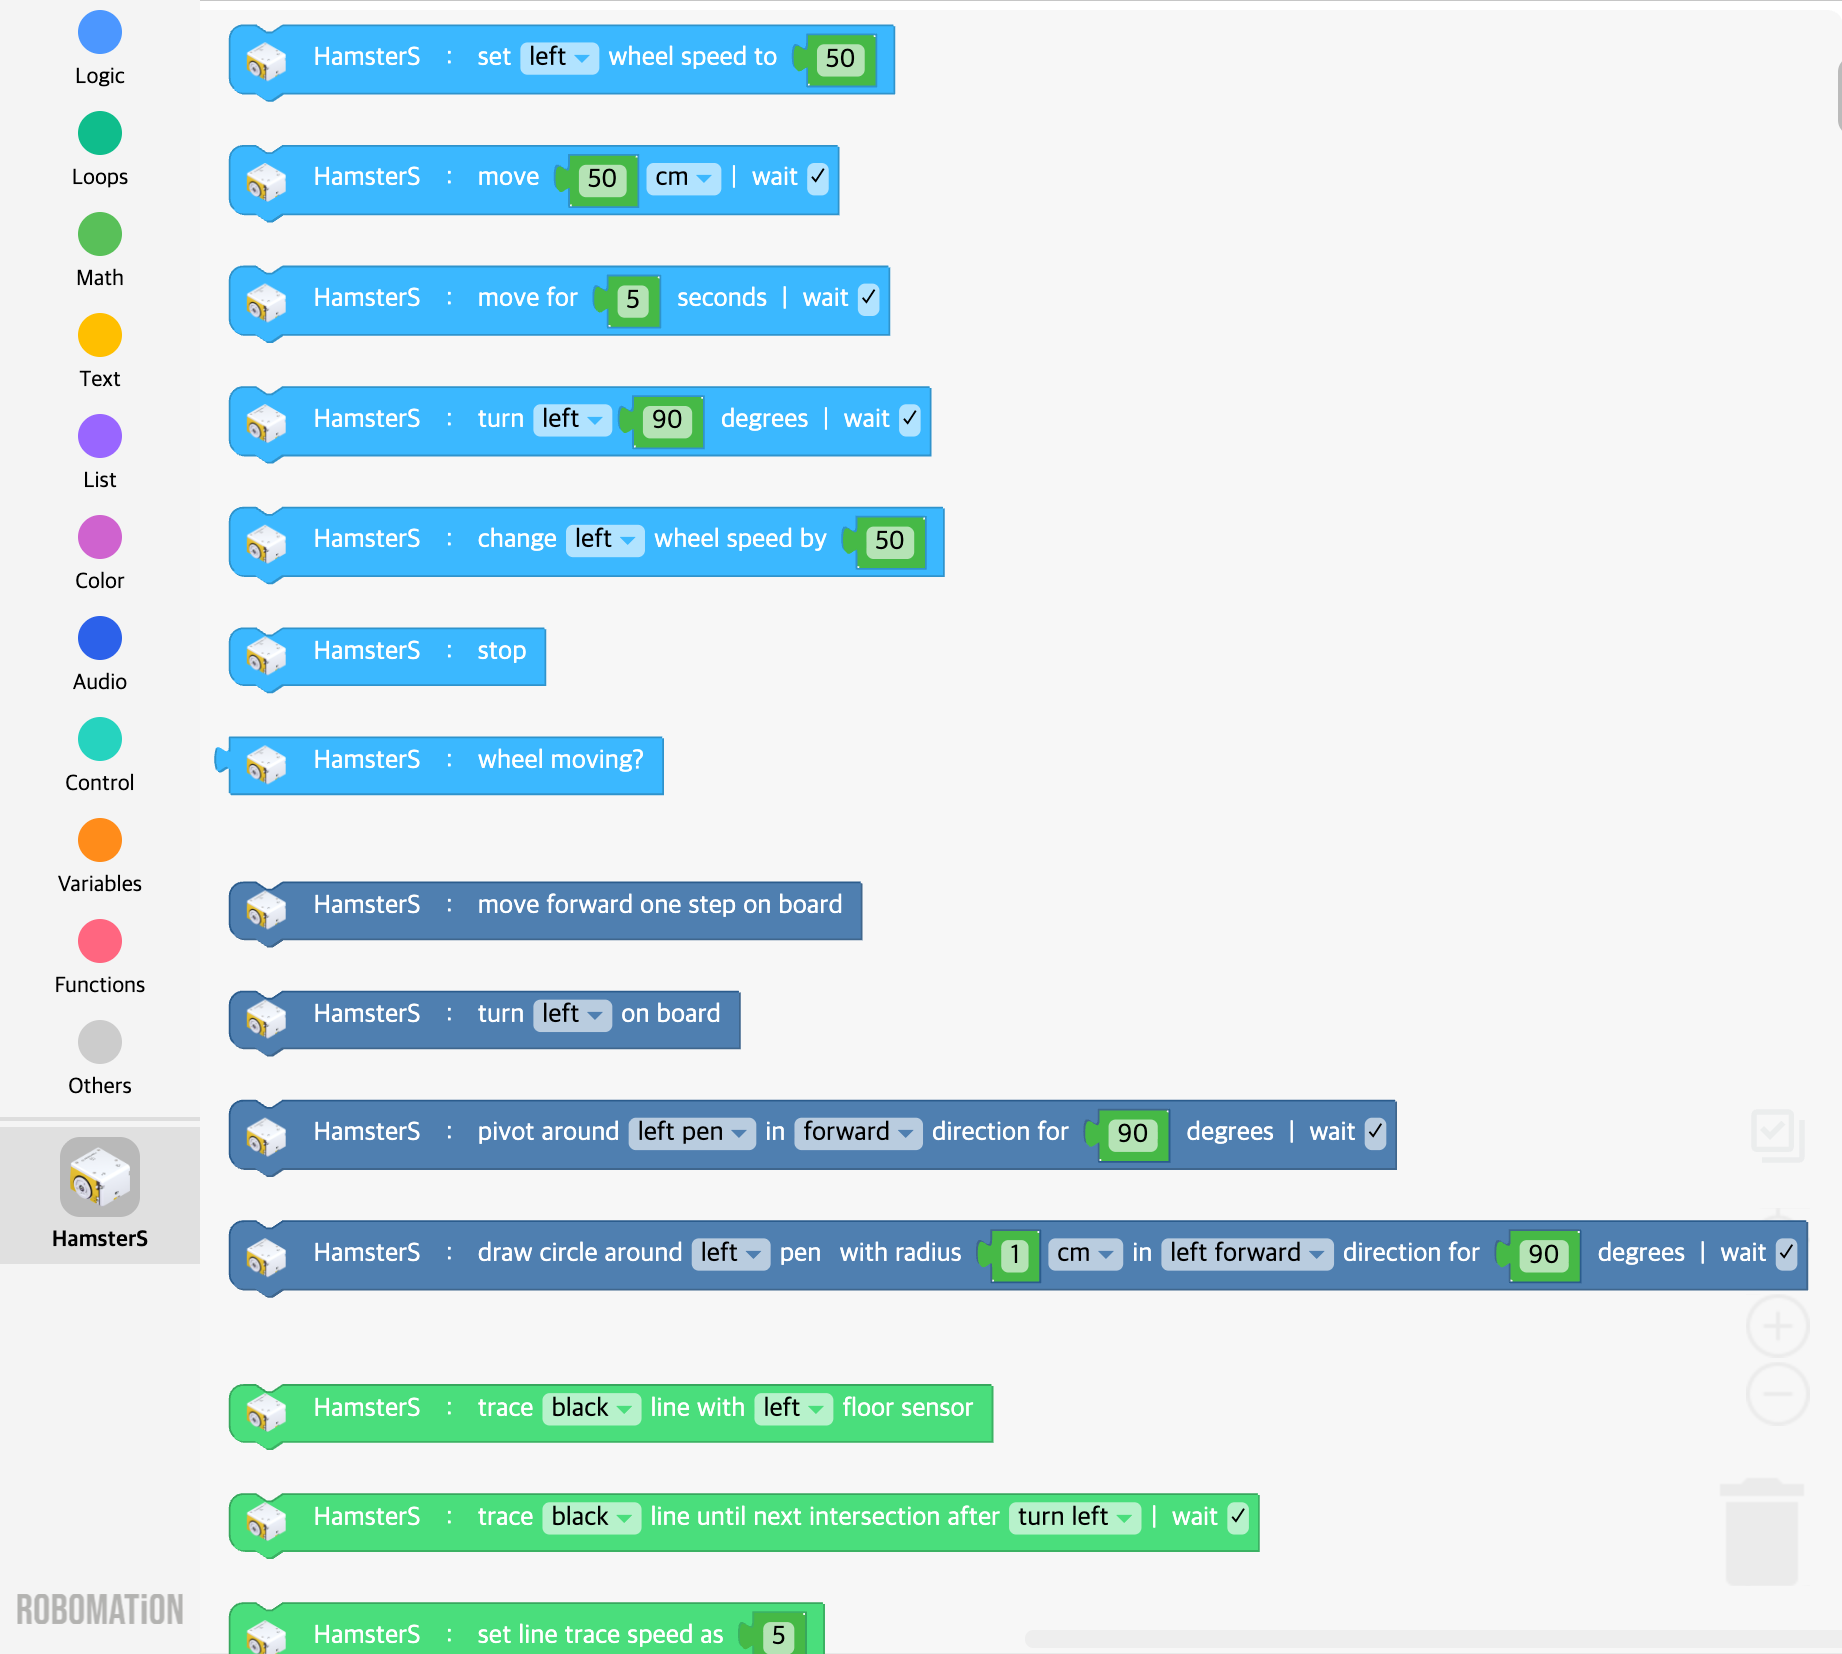
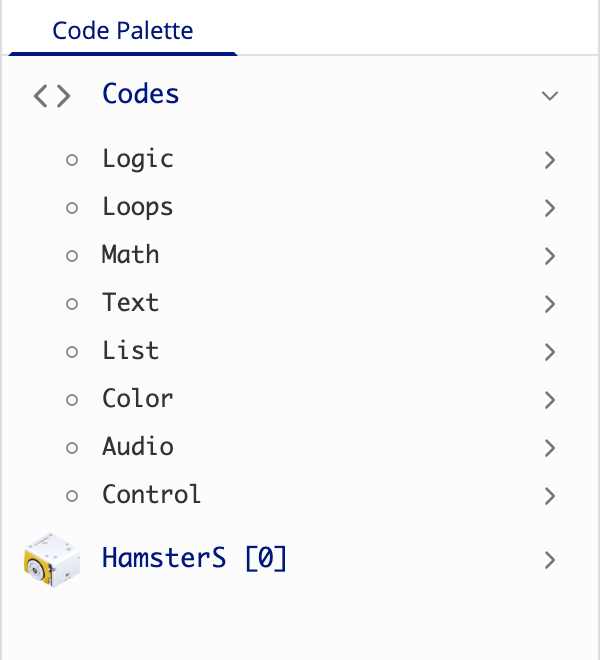
When a robot is added, the following items are created.
- Block Composer: the robot's dedicated blocks are created in the block palette on the left
- Script Composer: the robot's dedicated script code is created in the code palette on the left
This lets you freely move and control the actual robot hardware — sensors, motors, LEDs, and so on.
⚙️ Note
In RobomationLAB you can connect and use as many robots as you like, regardless of their kind or number.
However, if you want to connect and use several robots at the same time, you must have as many dongles connected to the program as the number of robots you want to use, and you must add as many robots to the program as the number of robots you want to use.
Extension
An extension module is a module that provides AI-based extended features such as speech recognition, image recognition, and image analysis.
You can select the extension module to use in the program and register that extension module's information and its dedicated blocks / script code.
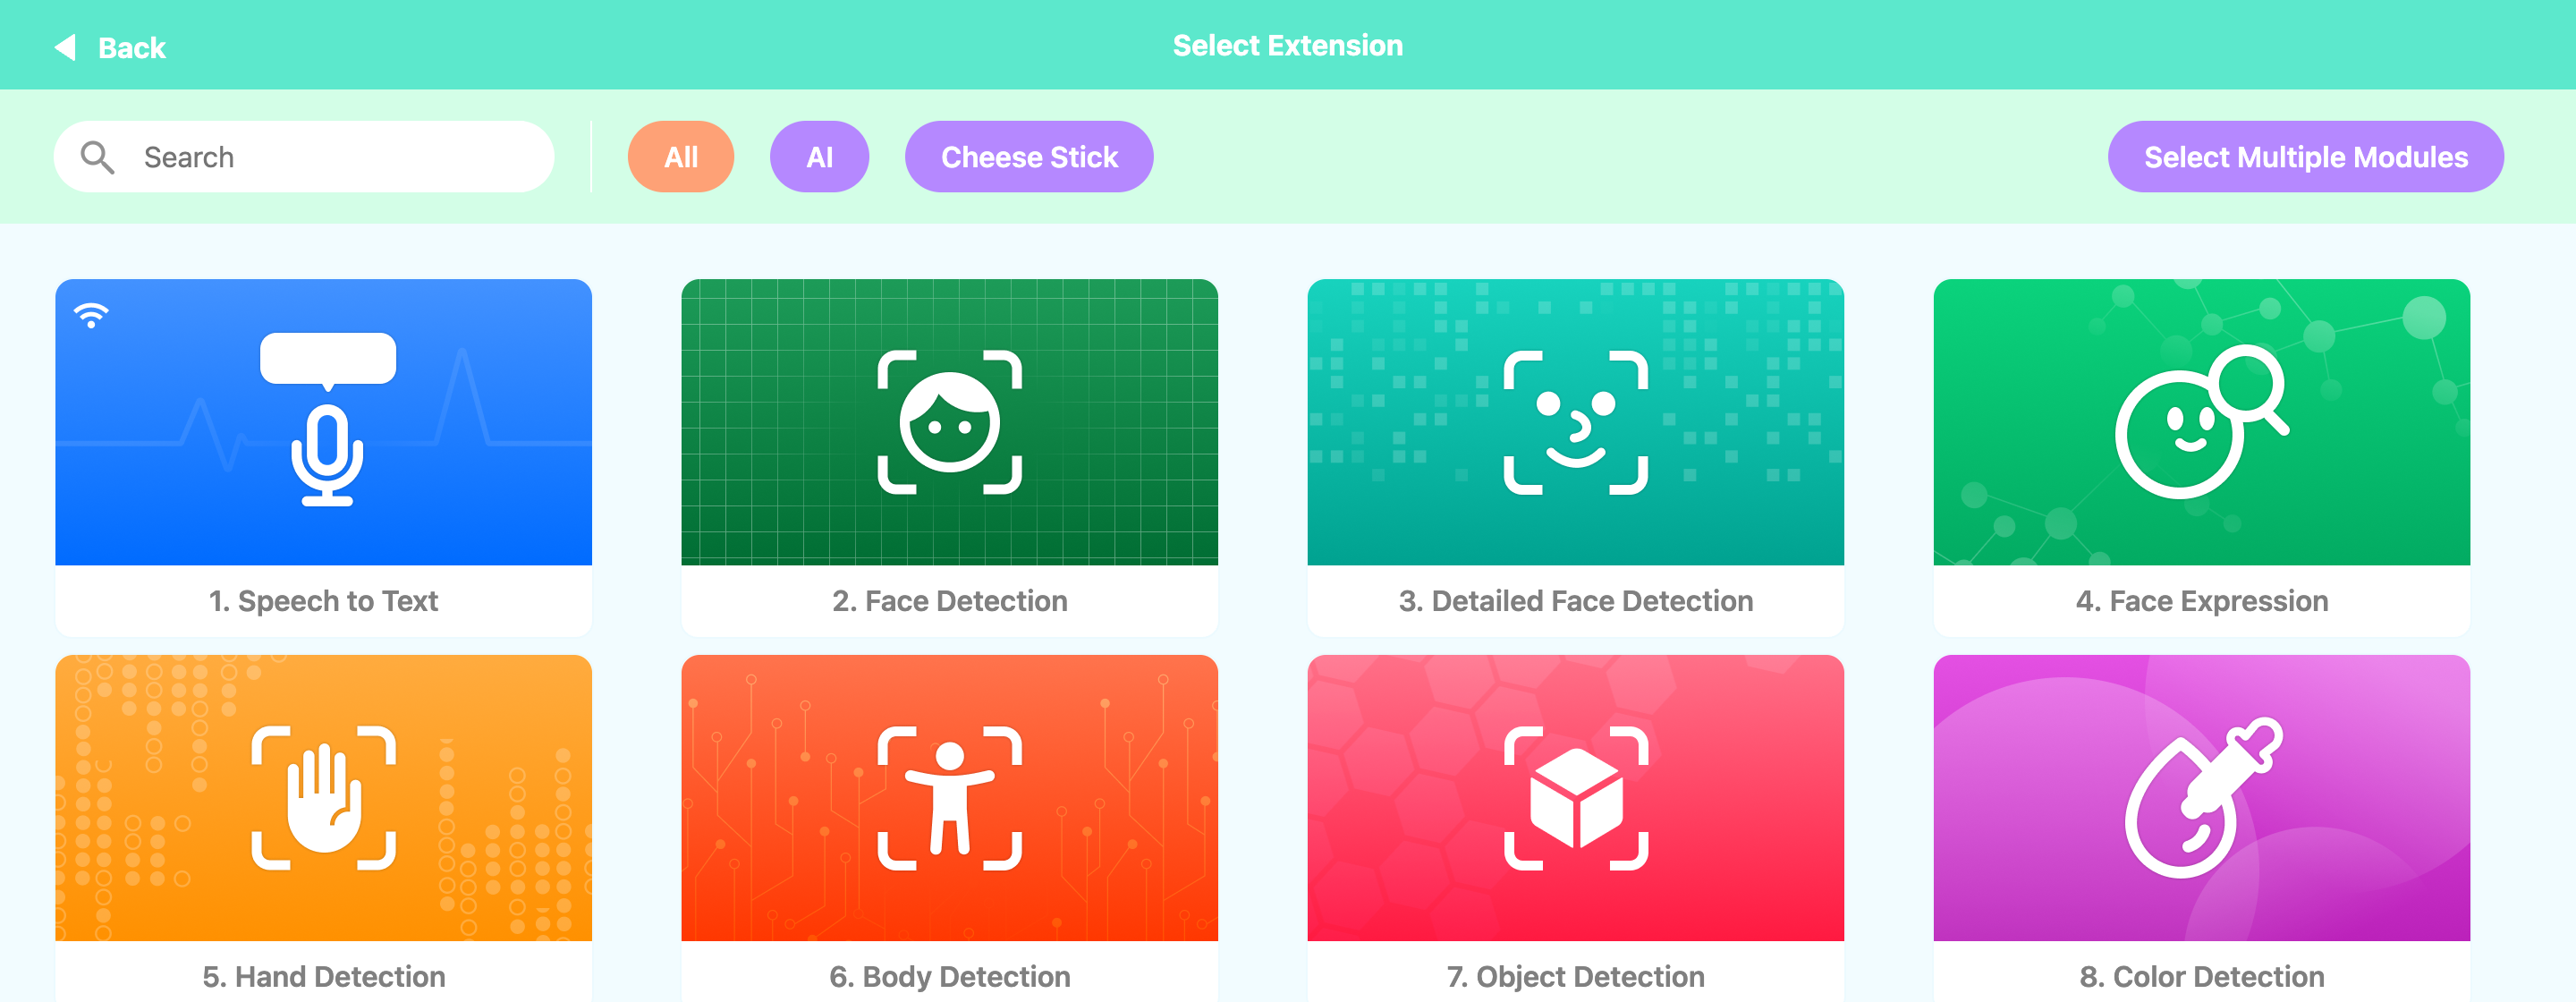
When you press the Extension button, a popup appears showing the list of extension modules available in the program.
- Speech to Text
- Face Detection
- Detailed Face Detection
- Face Expression
- Hand Detection
- Body Detection
- Object Detection
- Color Detection
- ArUco Marker Detection
- Camera Self Driving
When you click the module you want, that extension module's information and its dedicated blocks / script code are registered in the program, just as with Robot.
When you add an extension module that uses the camera, such as Face Detection or Hand Detection, to the program,
a camera module is created in the Preview - Camera tab, and you can connect and use a camera with the program.
If you no longer need the extension module you selected, you can remove it from the list with right-click → Remove.
Sound
You can select a sound to use in your coding, or add a sound from your own offline files to the program.
Selecting a sound
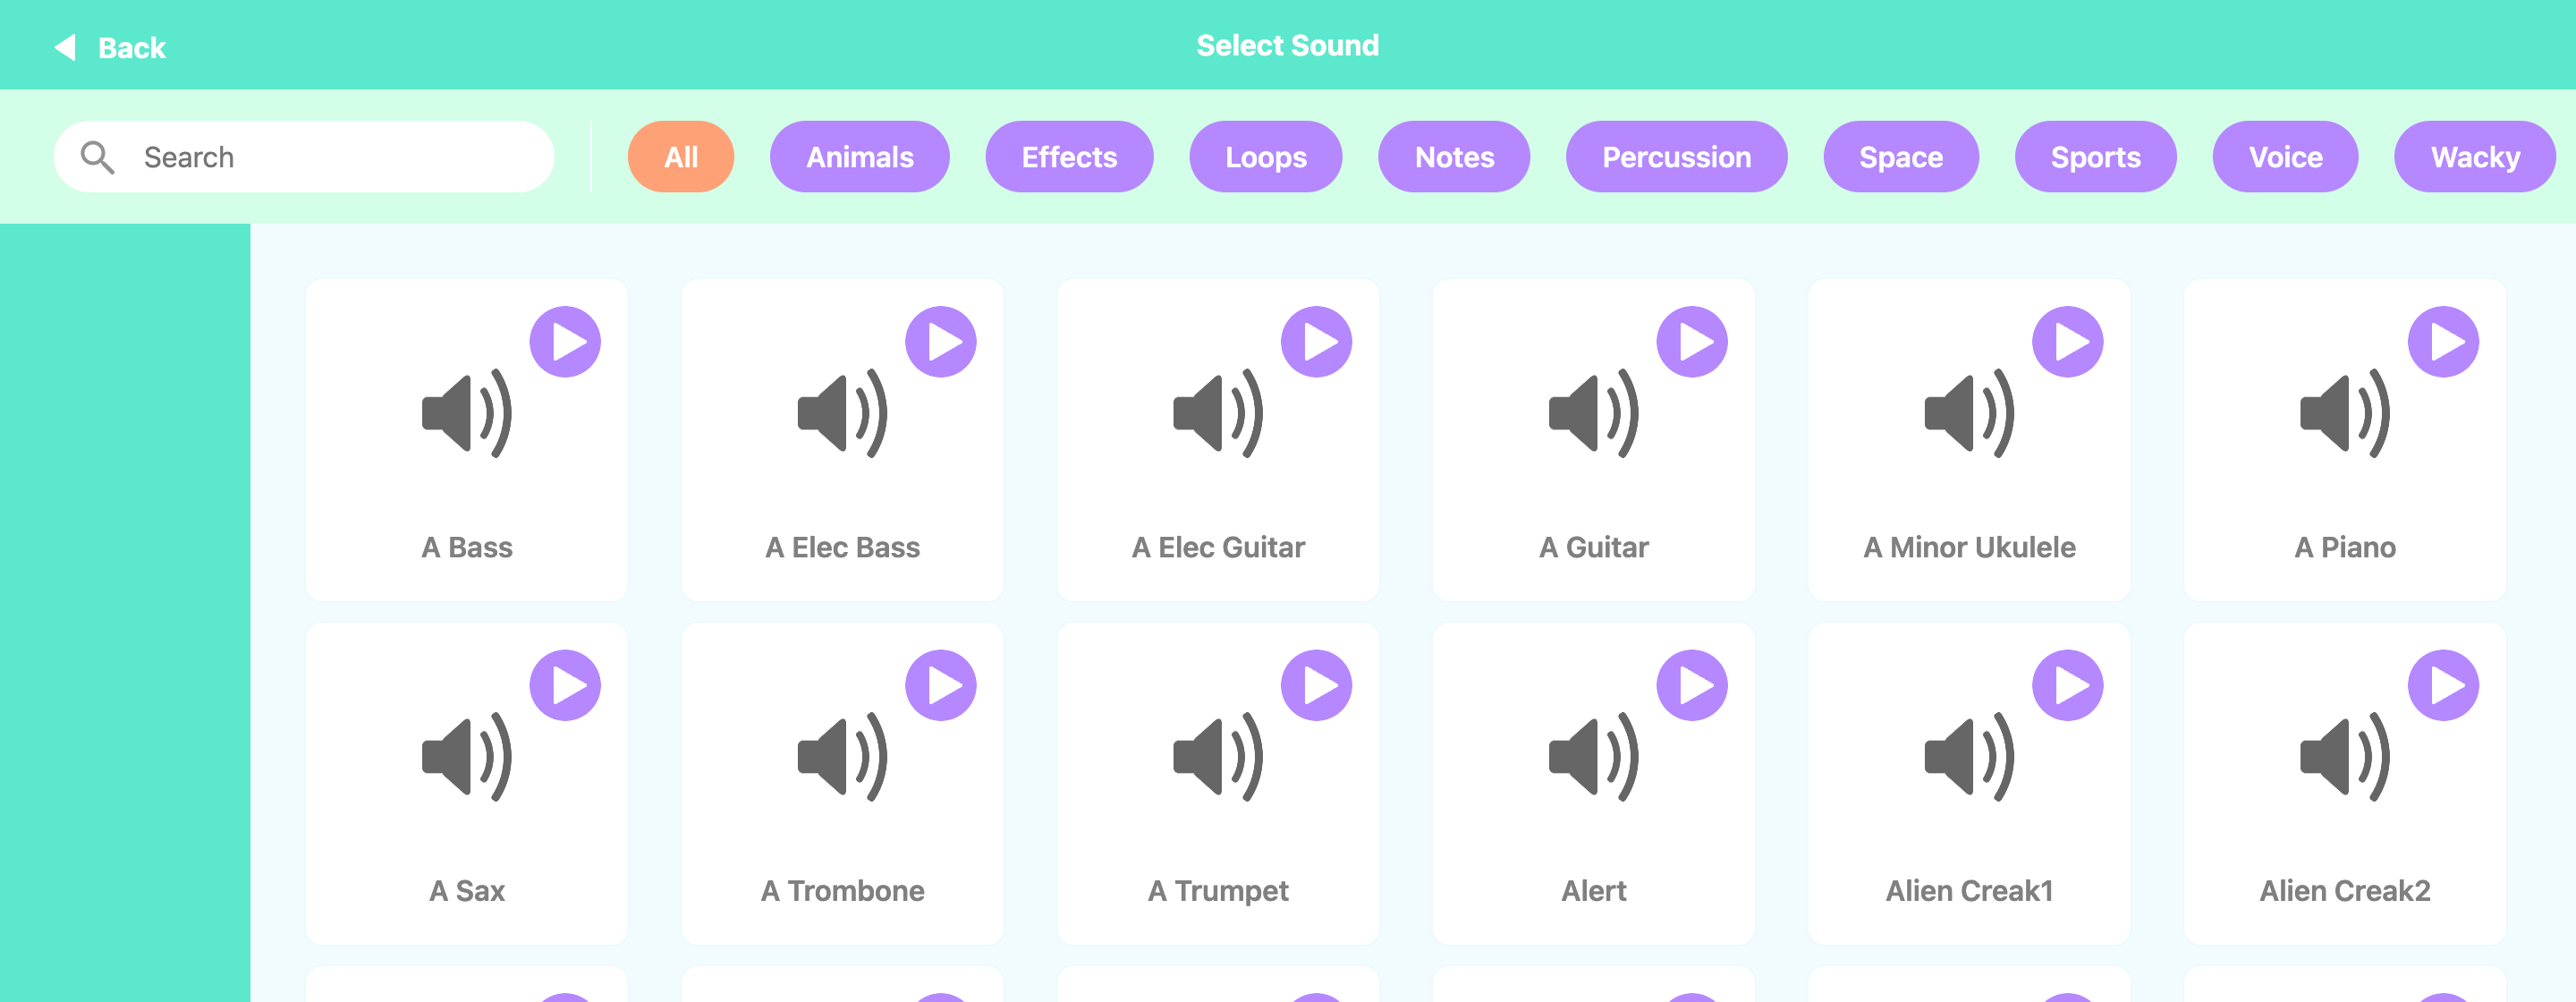
When you press the Sound button, a screen appears where you can select from the various sounds the program provides.
The following features are available.
- Searching for a sound
- ▶ Previewing a sound
- Adding a sound to the sound list (the left panel)
Extra features
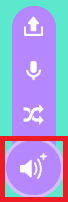
If you click or hover over the extension button (the red box) at the bottom left, three extra feature options appear.
The following features are available.
- Add a local file: adds an audio file from your computer
- Record a sound: records a sound yourself and adds it
- Add a random sound: adds a sound picked at random from the whole sound list
Using sounds in your coding
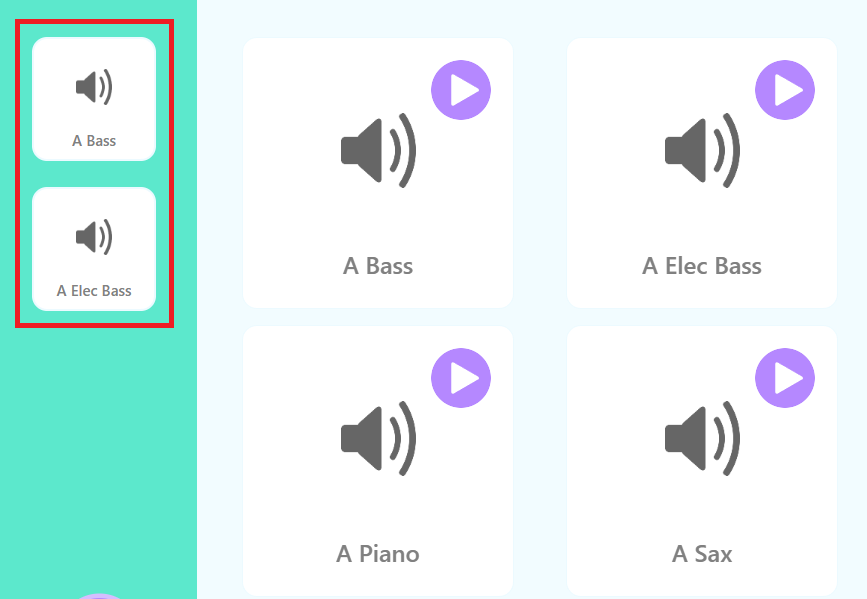
Sounds added to the sound list (the left panel) can be used in your coding.
For block coding, you can select the sound you want from the dropdown menu of the play sound block.
For script coding, you can select the sound you want from the sub-options of the 'play sound' function in the Codes - Audio category.
When the code runs, the selected sound is played through your computer's speakers.
Example
If a robot has been added to the program, you can load and try out simple examples for each robot.
Selecting an example
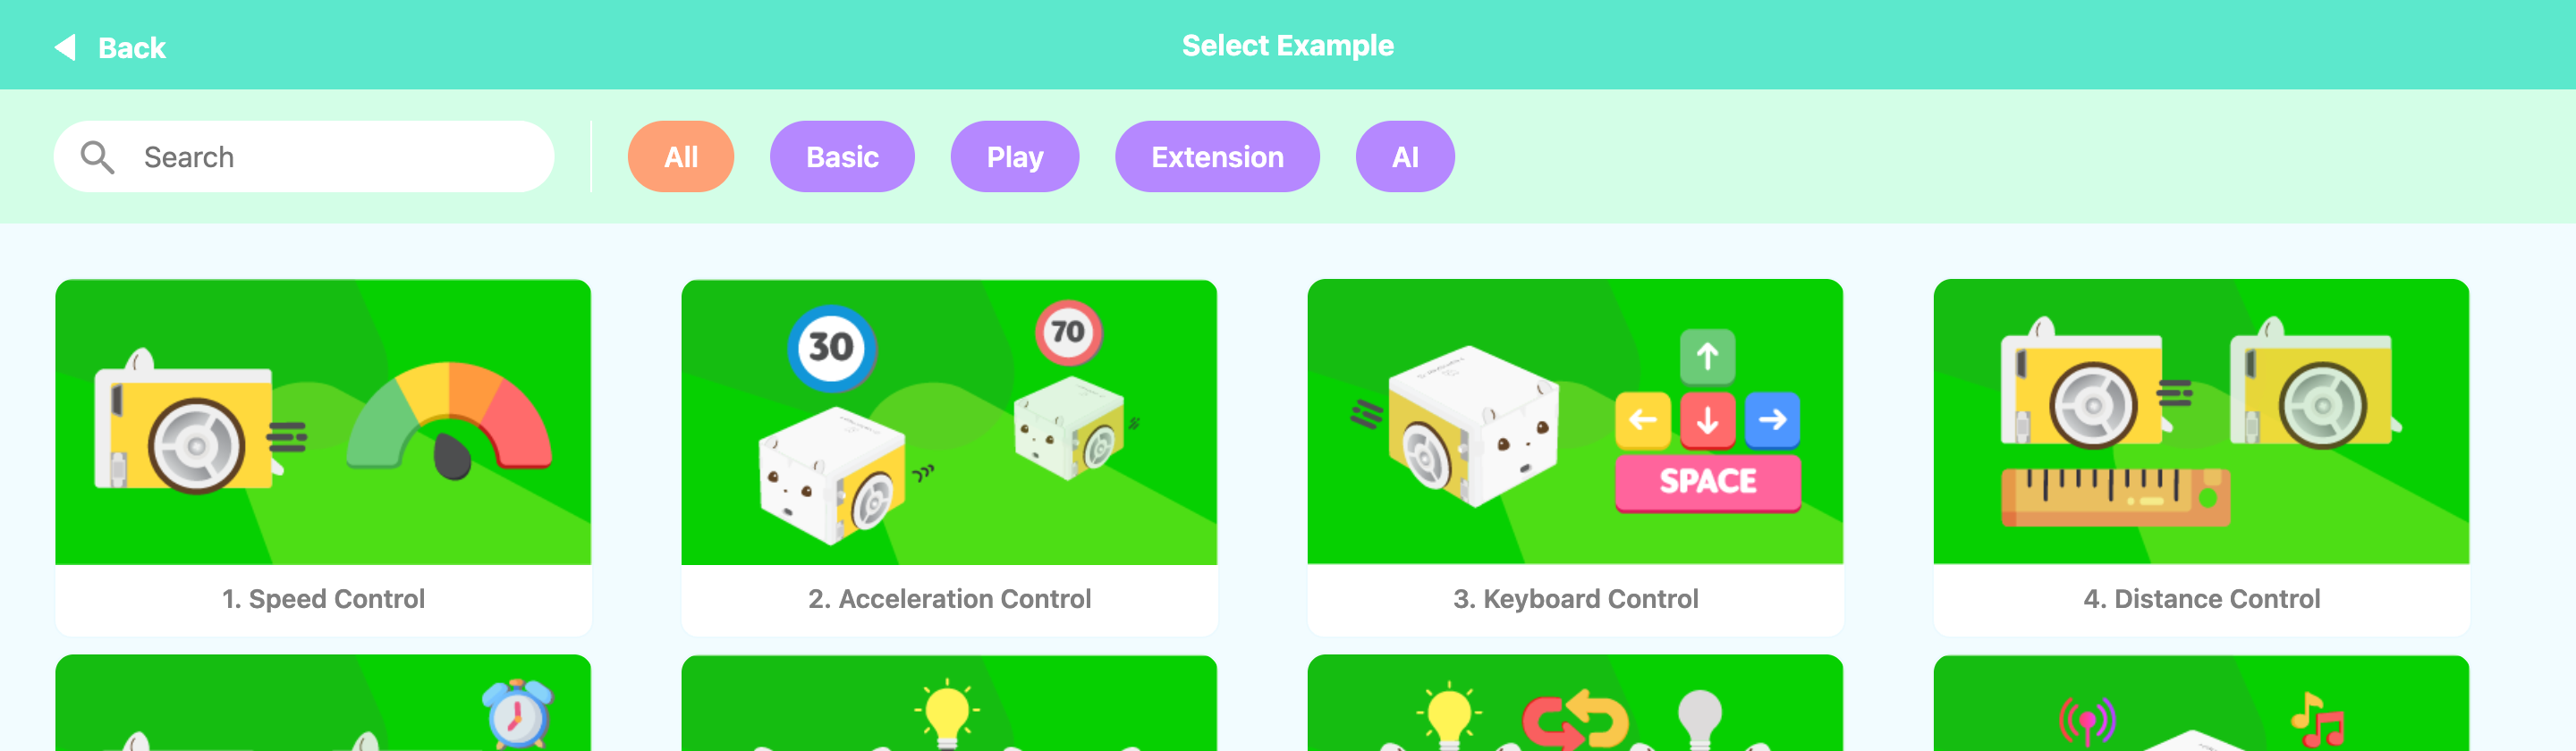
When you press the Example button, the Select Example screen shown above appears.
You can quickly find the example you want with the category filters and the search feature.
Loading an example
- Click the Example menu to open the Select Example screen, and select the example you want.
- The screen refreshes and the example appears in the coding area.
- After loading an example, you can press the run button (▶) to see it work, with nothing else to do.
Edit
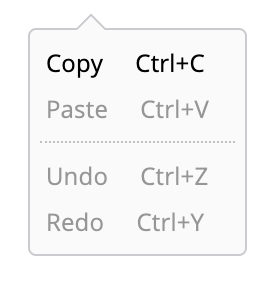
This feature lets you undo or redo your work.
- Copy (Ctrl+C): copies the selected block or code.
- Paste (Ctrl+V): pastes the copied block or code into the workspace.
- Undo (Ctrl+Z): undoes the last action.
- Redo (Ctrl+Y): redoes the action you undid.
File
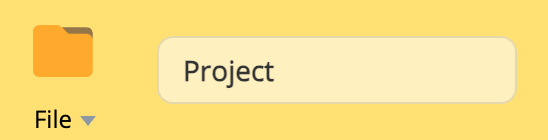
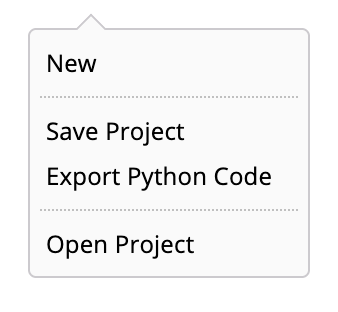
You can manage files — create new code, or save the code you wrote to a file and open it again.
New
Resets the code you are currently writing and creates new code.Save Project
Saves the project file you are currently working on.
The file is saved in your computer's 'Downloads' folder, and the file extension is '.block'.Export Python Code
Extracts the Python code of the project you are currently working on and saves it as a file.
The file is saved in your computer's 'Downloads' folder, and the file extension is '.py'.
You can open and run the saved file in an external Python development environment such as VSCode.Open Project
Opens a project file or a Python code file from your computer.
The file extensions you can open are '.block' and '.py'.
Opening a '.block' file opens it in the block coding editor, and opening a '.py' file opens it in the Python editor.
Please note that when you open a '.py' file, the file may not open properly if it does not match Block Composer's code format or if it has syntax errors.
Run / stop the code
Run (▶)

Interprets and runs the block code or the script code written in the currently active editor.
Depending on the code you wrote, you can control the robots connected to the program.
While the code is running, you cannot modify the code you have written.
Stop (■)

Stops the code from running.
AI Coding
When you press the AI Coding button in the top menu, an AI chatbot panel opens on the right side of the screen.
You can talk with the AI chatbot built into RobomationLAB and code together with the AI.
The following features are available.
- You can ask anything about coding, such as how to write or fix code, syntax, and concepts.
- If an error occurs while the code is running, you can ask the AI why the error happened and how to fix it, and solve the problem quickly.
- The code the AI suggests can be copied easily with the copy button on the right of the code block.
- Conversations are saved so you can continue them, and you can also start a new conversation.
- You can adjust the width of the panel by dragging its left edge.
Code Copy
You can copy the code written in the currently active editor to the clipboard.
Block Composer (block coding)
The Python code shown in the Python Preview tab is copied.
Script Composer (Python)
The code written in the Python editor is copied as it is.
You can paste the copied code wherever you want with Ctrl+V.
Editor settings
You can choose the editor you want — block coding or Python — and code in it.
Even if you change the editor, the code you wrote before is kept as it is, so you can continue coding at any time.
※ The block coding editor and the Python editor correspond one-to-one, and when you switch editors the code you wrote is converted and carried over.
The block coding editor
If you choose block coding, the logo changes to Block Composer.
The blocks you write in the block coding editor are converted into Python code in real time, and you can see the result in the Preview - Python Preview tab.
The Python editor
If you choose Python, the logo changes to Script Composer.
The code you write in the Python editor is converted into blocks when you switch back to the block coding editor.
Note, however, that Python → block conversion happens only for code that can be expressed as blocks.
If the syntax is invalid or the code cannot be converted into blocks, the switch to the block coding editor may not happen, and in that case the reason the switch failed is shown as well.
Settings
You can configure the program's basic settings.
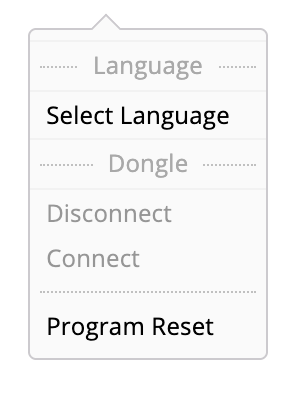
Language
Changes the language (locale) shown in the program.
You can choose the language you want from a total of 21 languages.
Dongle
- Disconnect: disconnects all the dongles connected to the program.
- Connect: connects a dongle to the program again.
Reset
- Program Reset: resets all the data registered in the program (robot information, blocks / script code, settings, and so on).
Support
You can find the guides and external resources you need to use the program.
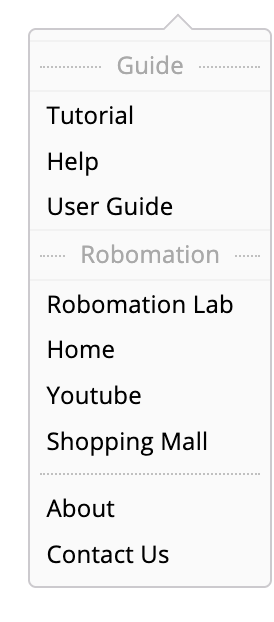
- Tutorial: provides a tutorial for people using the program for the first time.
- Help: lets you check how to use blocks and Python code, with examples, right inside the program.
- User Guide: goes to the RobomationLAB user guide wiki page.
It provides detailed explanations of the program's components and how to use them, and of the features and syntax of each block / script code. - Robomation Lab: goes to the RobomationLAB main page.
- Home: goes to Robomation's official company website.
- Youtube: goes to Robomation's YouTube page.
- Shopping Mall: goes to Robomation's shopping mall page.
- About: lets you check the program version and update history, the terms of use, the privacy policy, and so on.
- Contact Us: lets you ask about anything you are curious about while using the program, report bugs, and so on.