
Editor
The editor is the area where you can write the code that controls the robot, using blocks or script code.
Below we introduce how to code in the block coding / script (Python) coding environments and the things to watch out for in each.
The block coding editor
The block categories
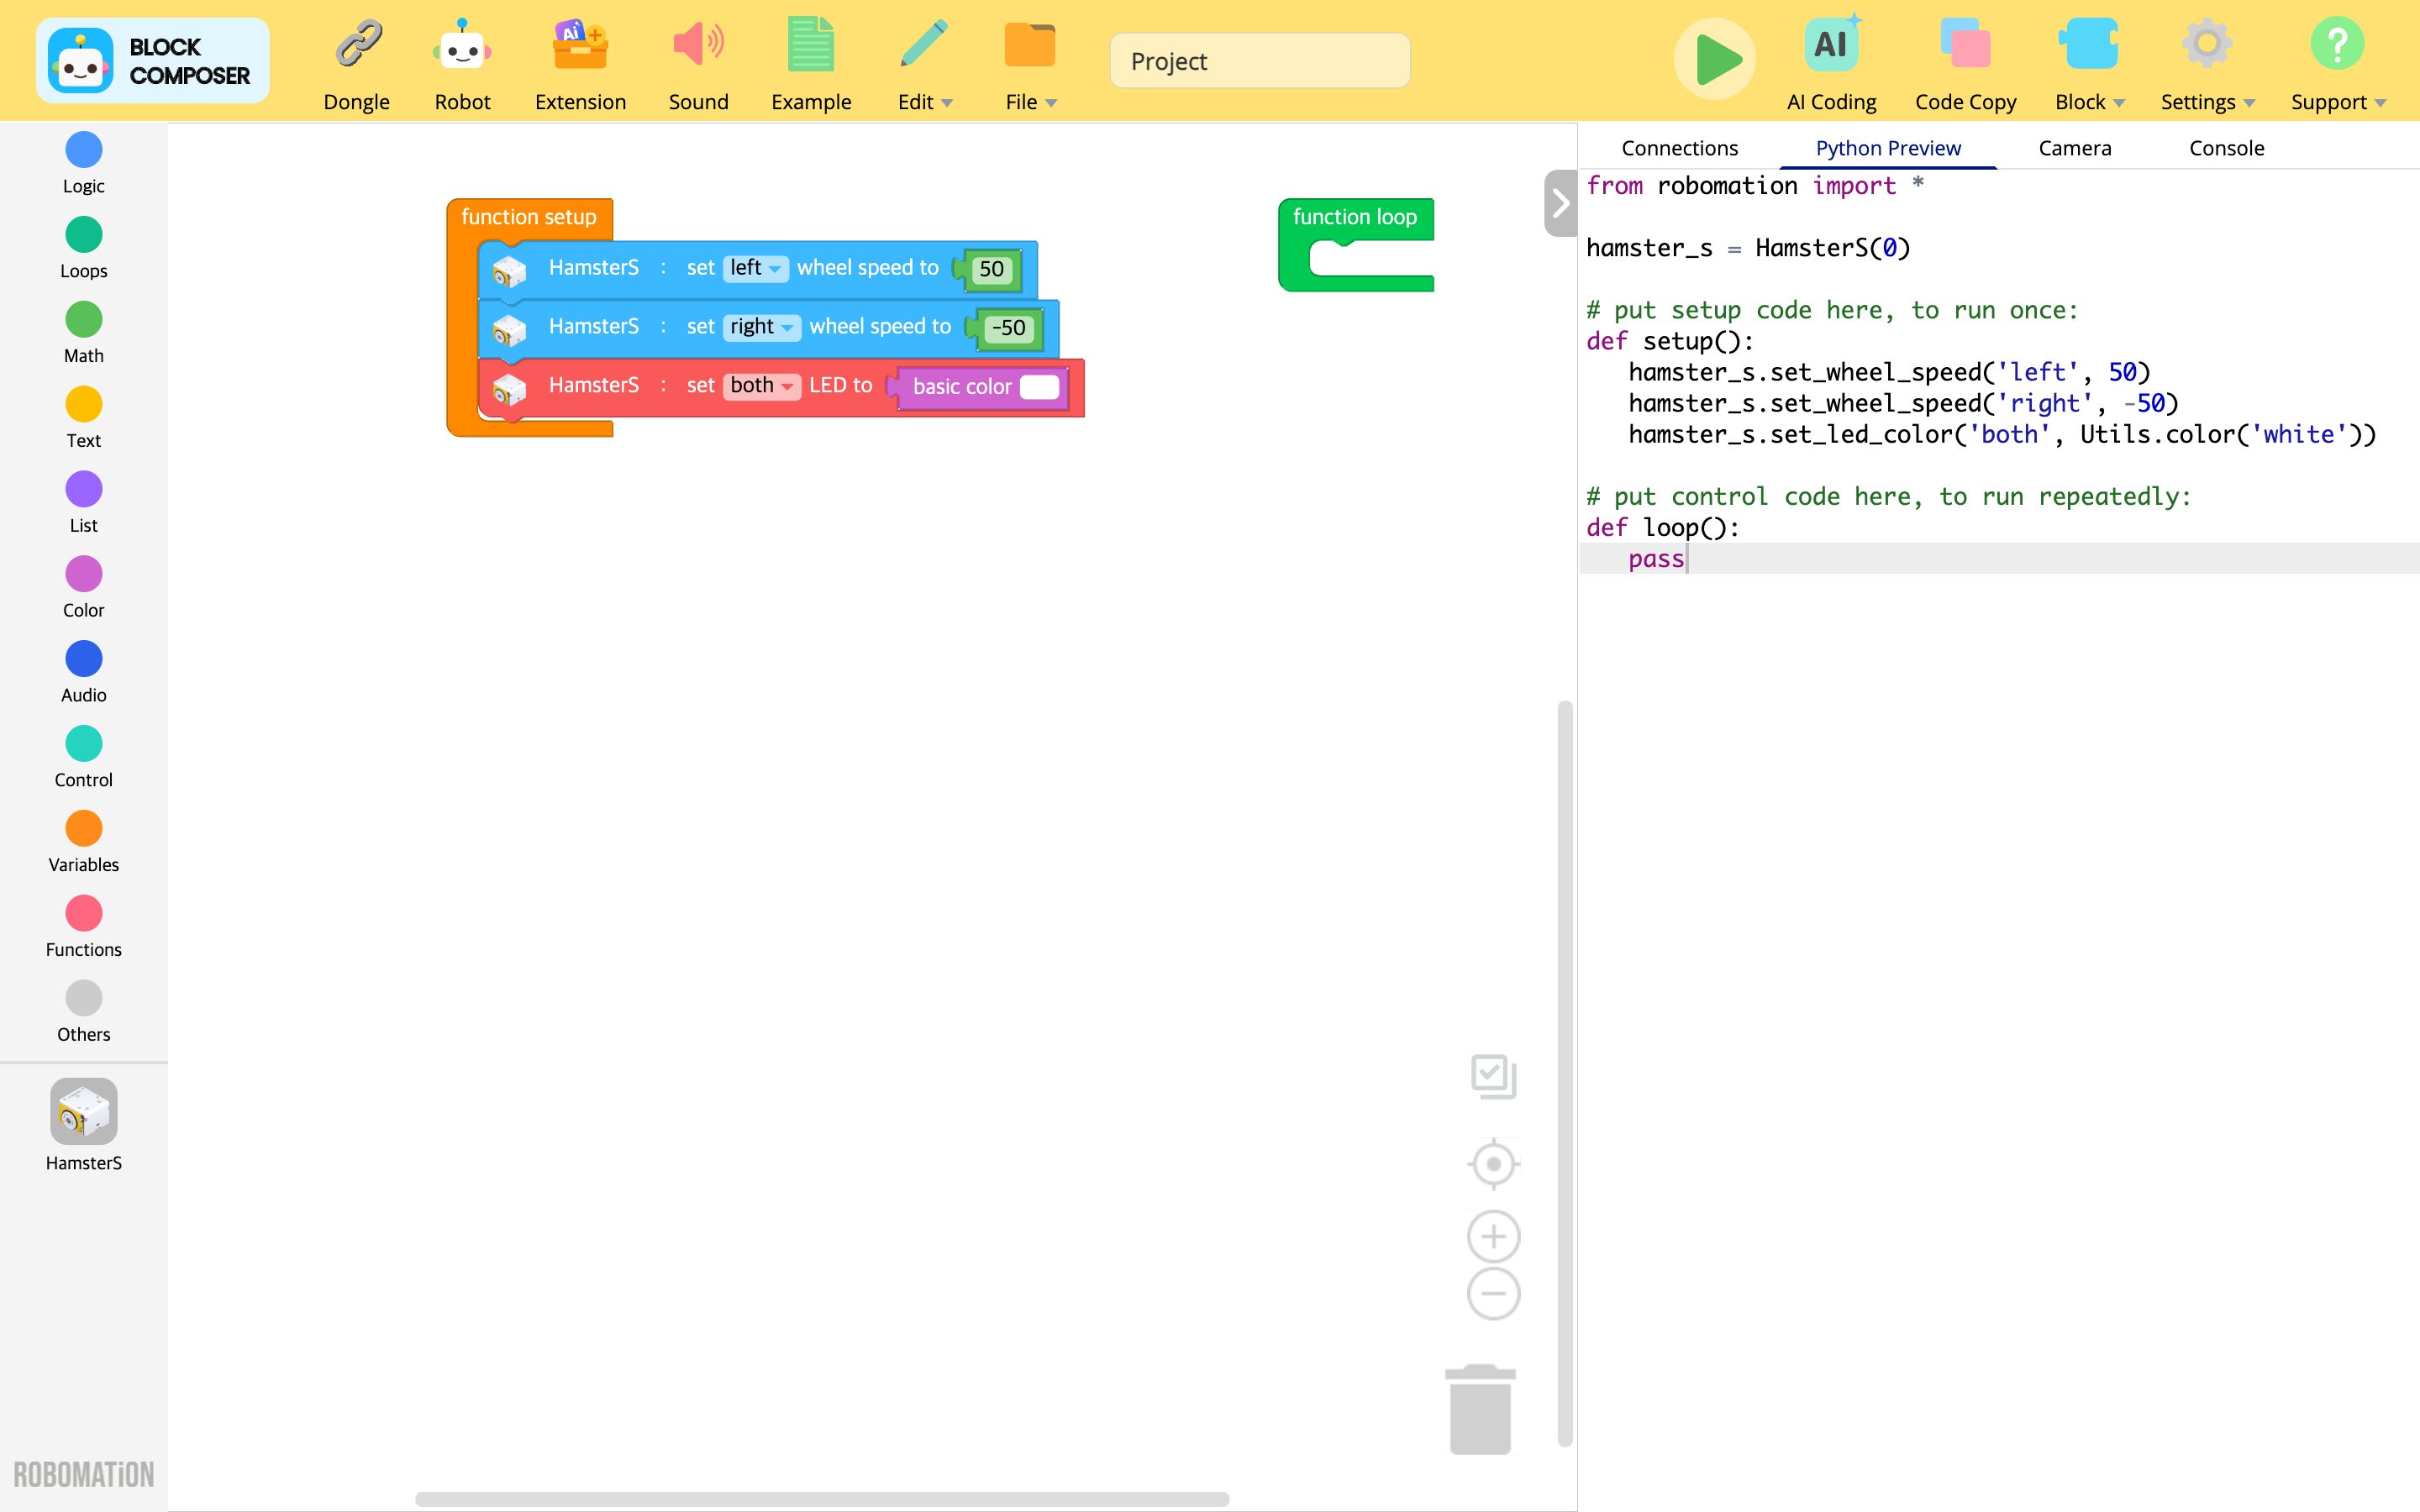
This area organizes the blocks RobomationLAB provides into categories.
When you click a category, you can see the block palette for that category.
The following are the kinds of block category provided by default.
- Logic
- Loops
- Math
- Text
- List
- Color
- Audio
- Control
- Variables
- Functions
- Others
In addition, when you add a robot or an extension module to the program, its dedicated block palette becomes available in the program.
⚙️ Note
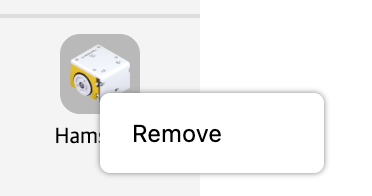
For categories among the blocks you added to the program that you no longer use, you can remove them from the block categories with right-click → Remove.
The block palette
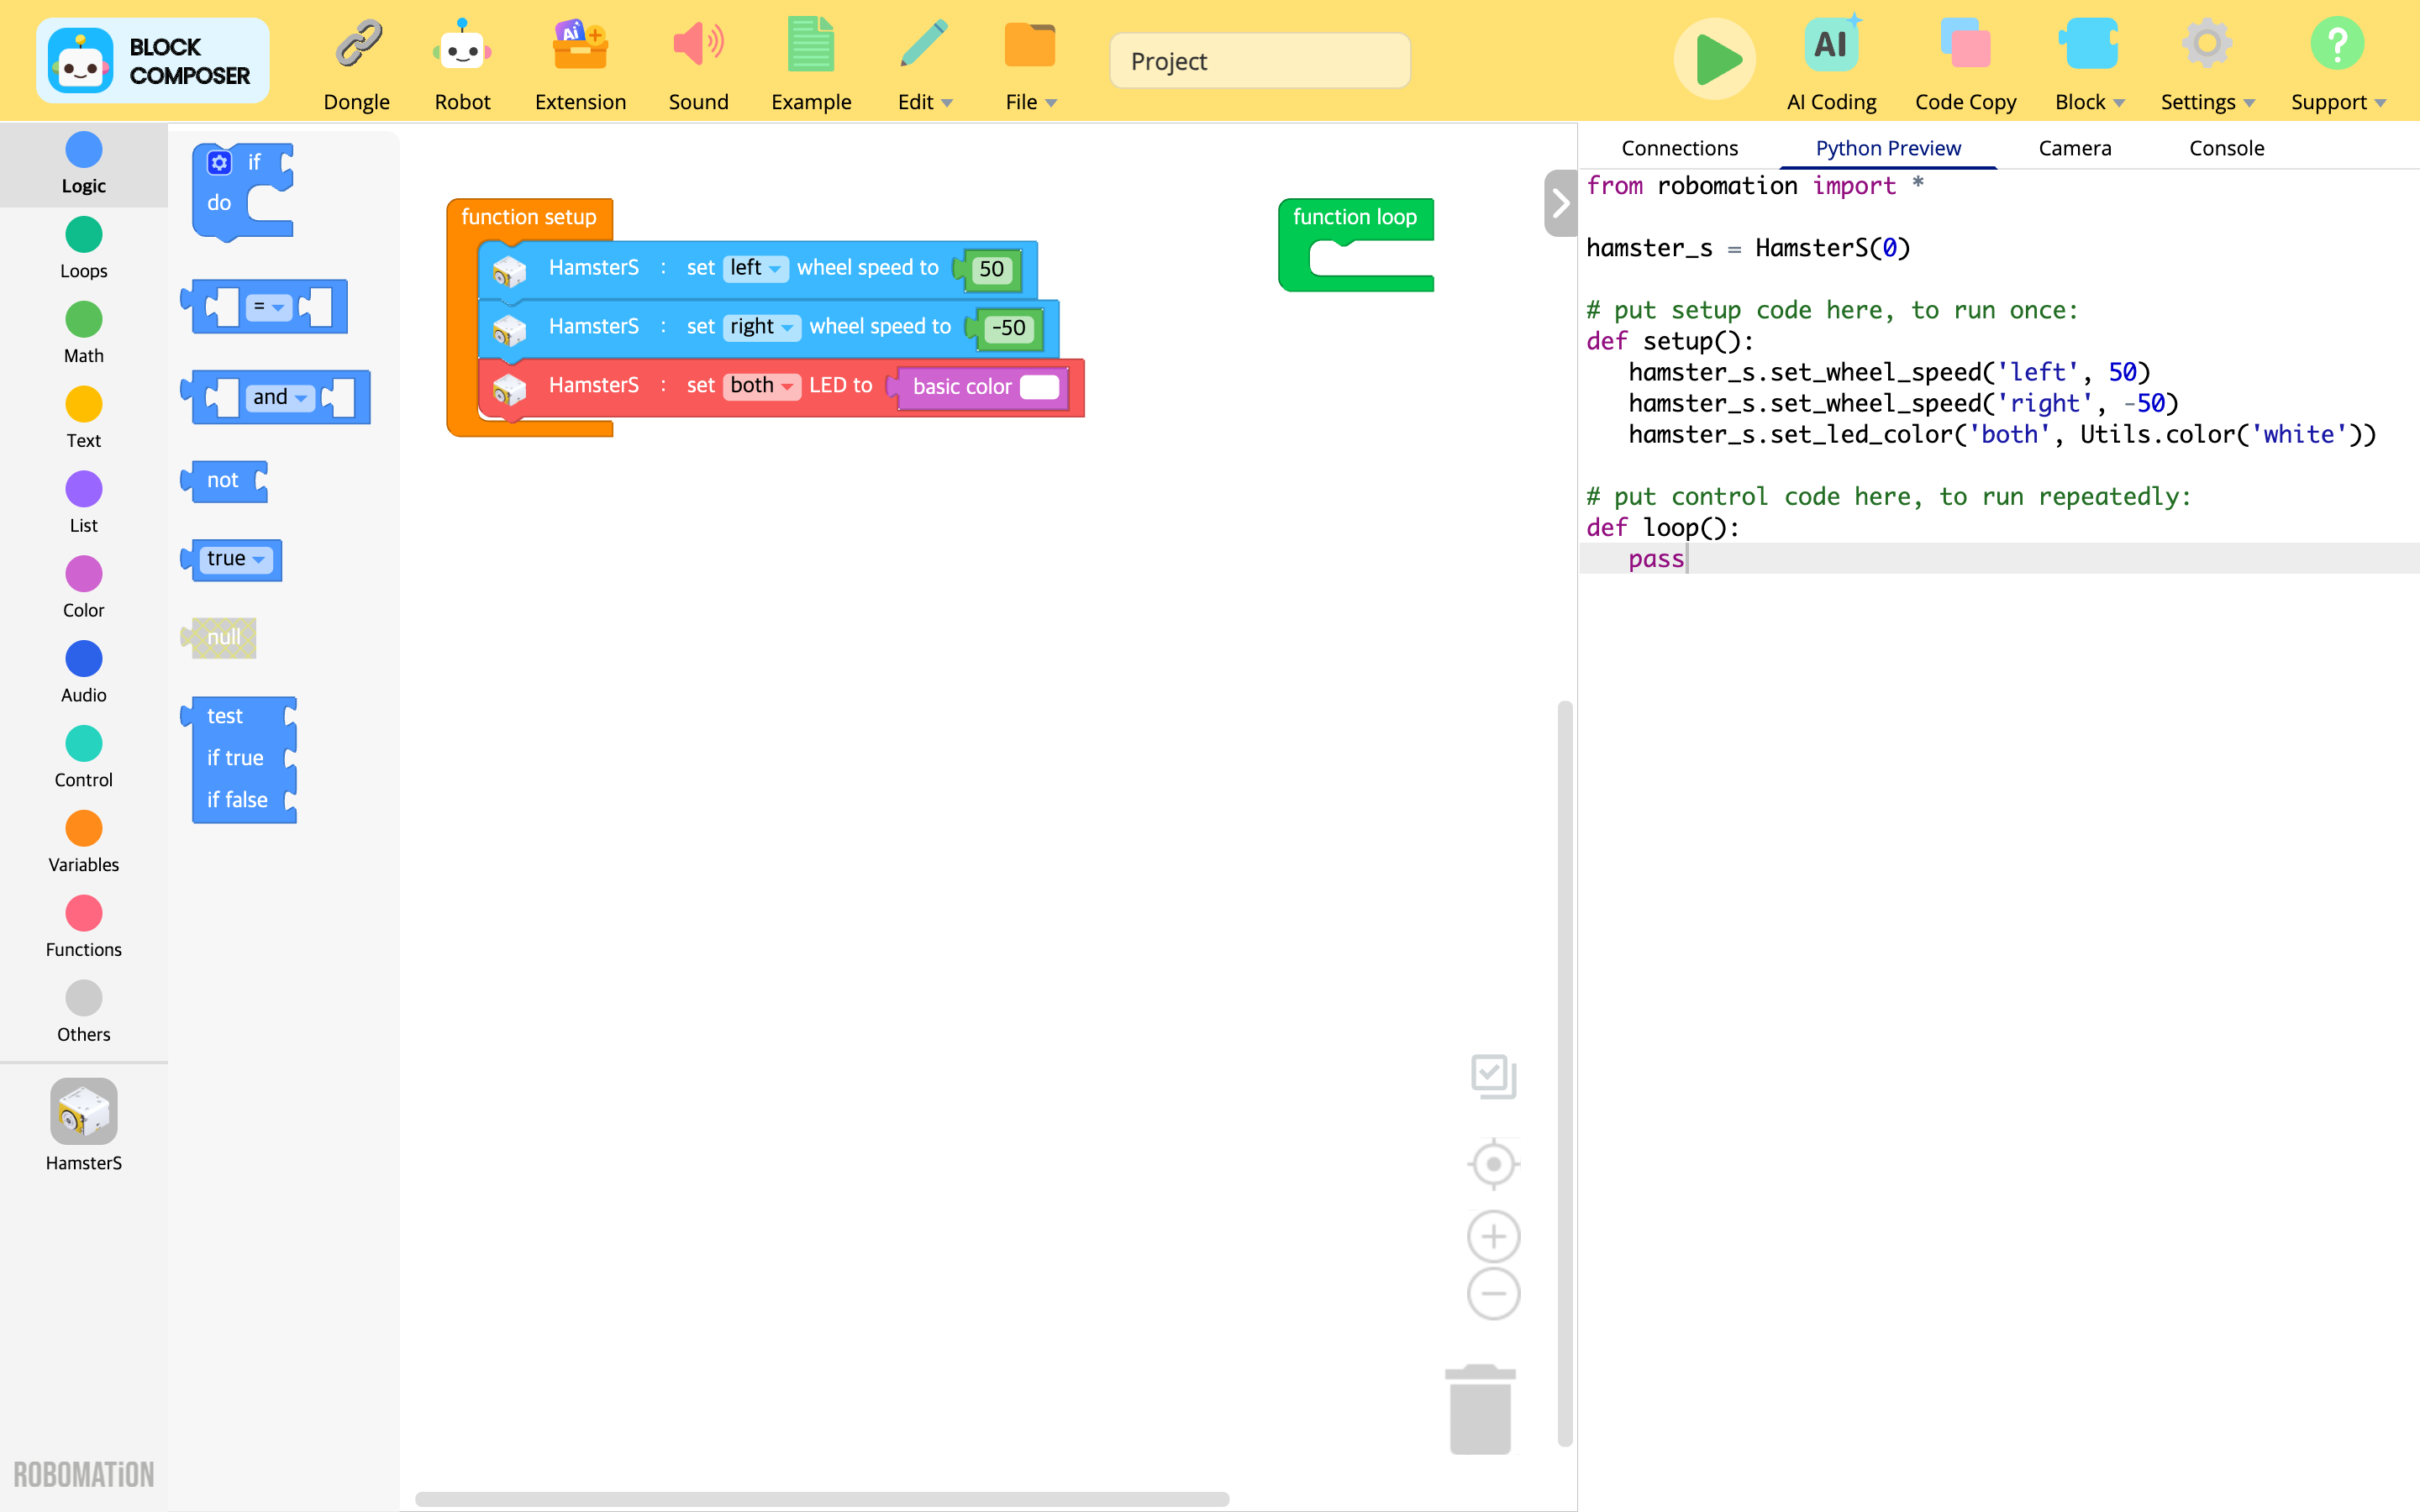
This area gathers all the blocks of each category.
You can move the blocks in the block palette into the coding area by drag & drop.
⚙️ Note
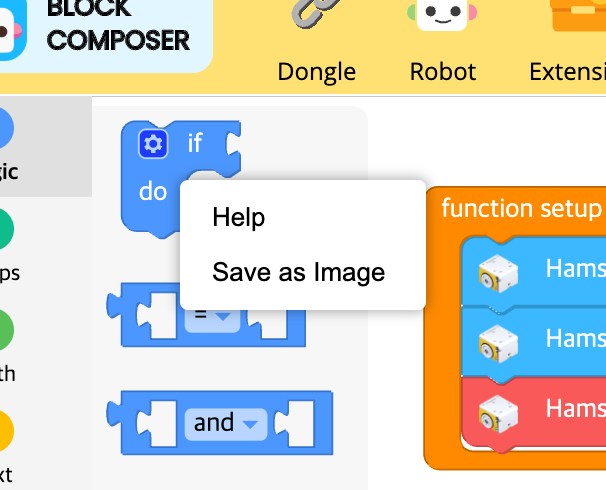
If you want to see how to use a block, you can check the help that explains how to use each block with right-click → Help.
The coding area
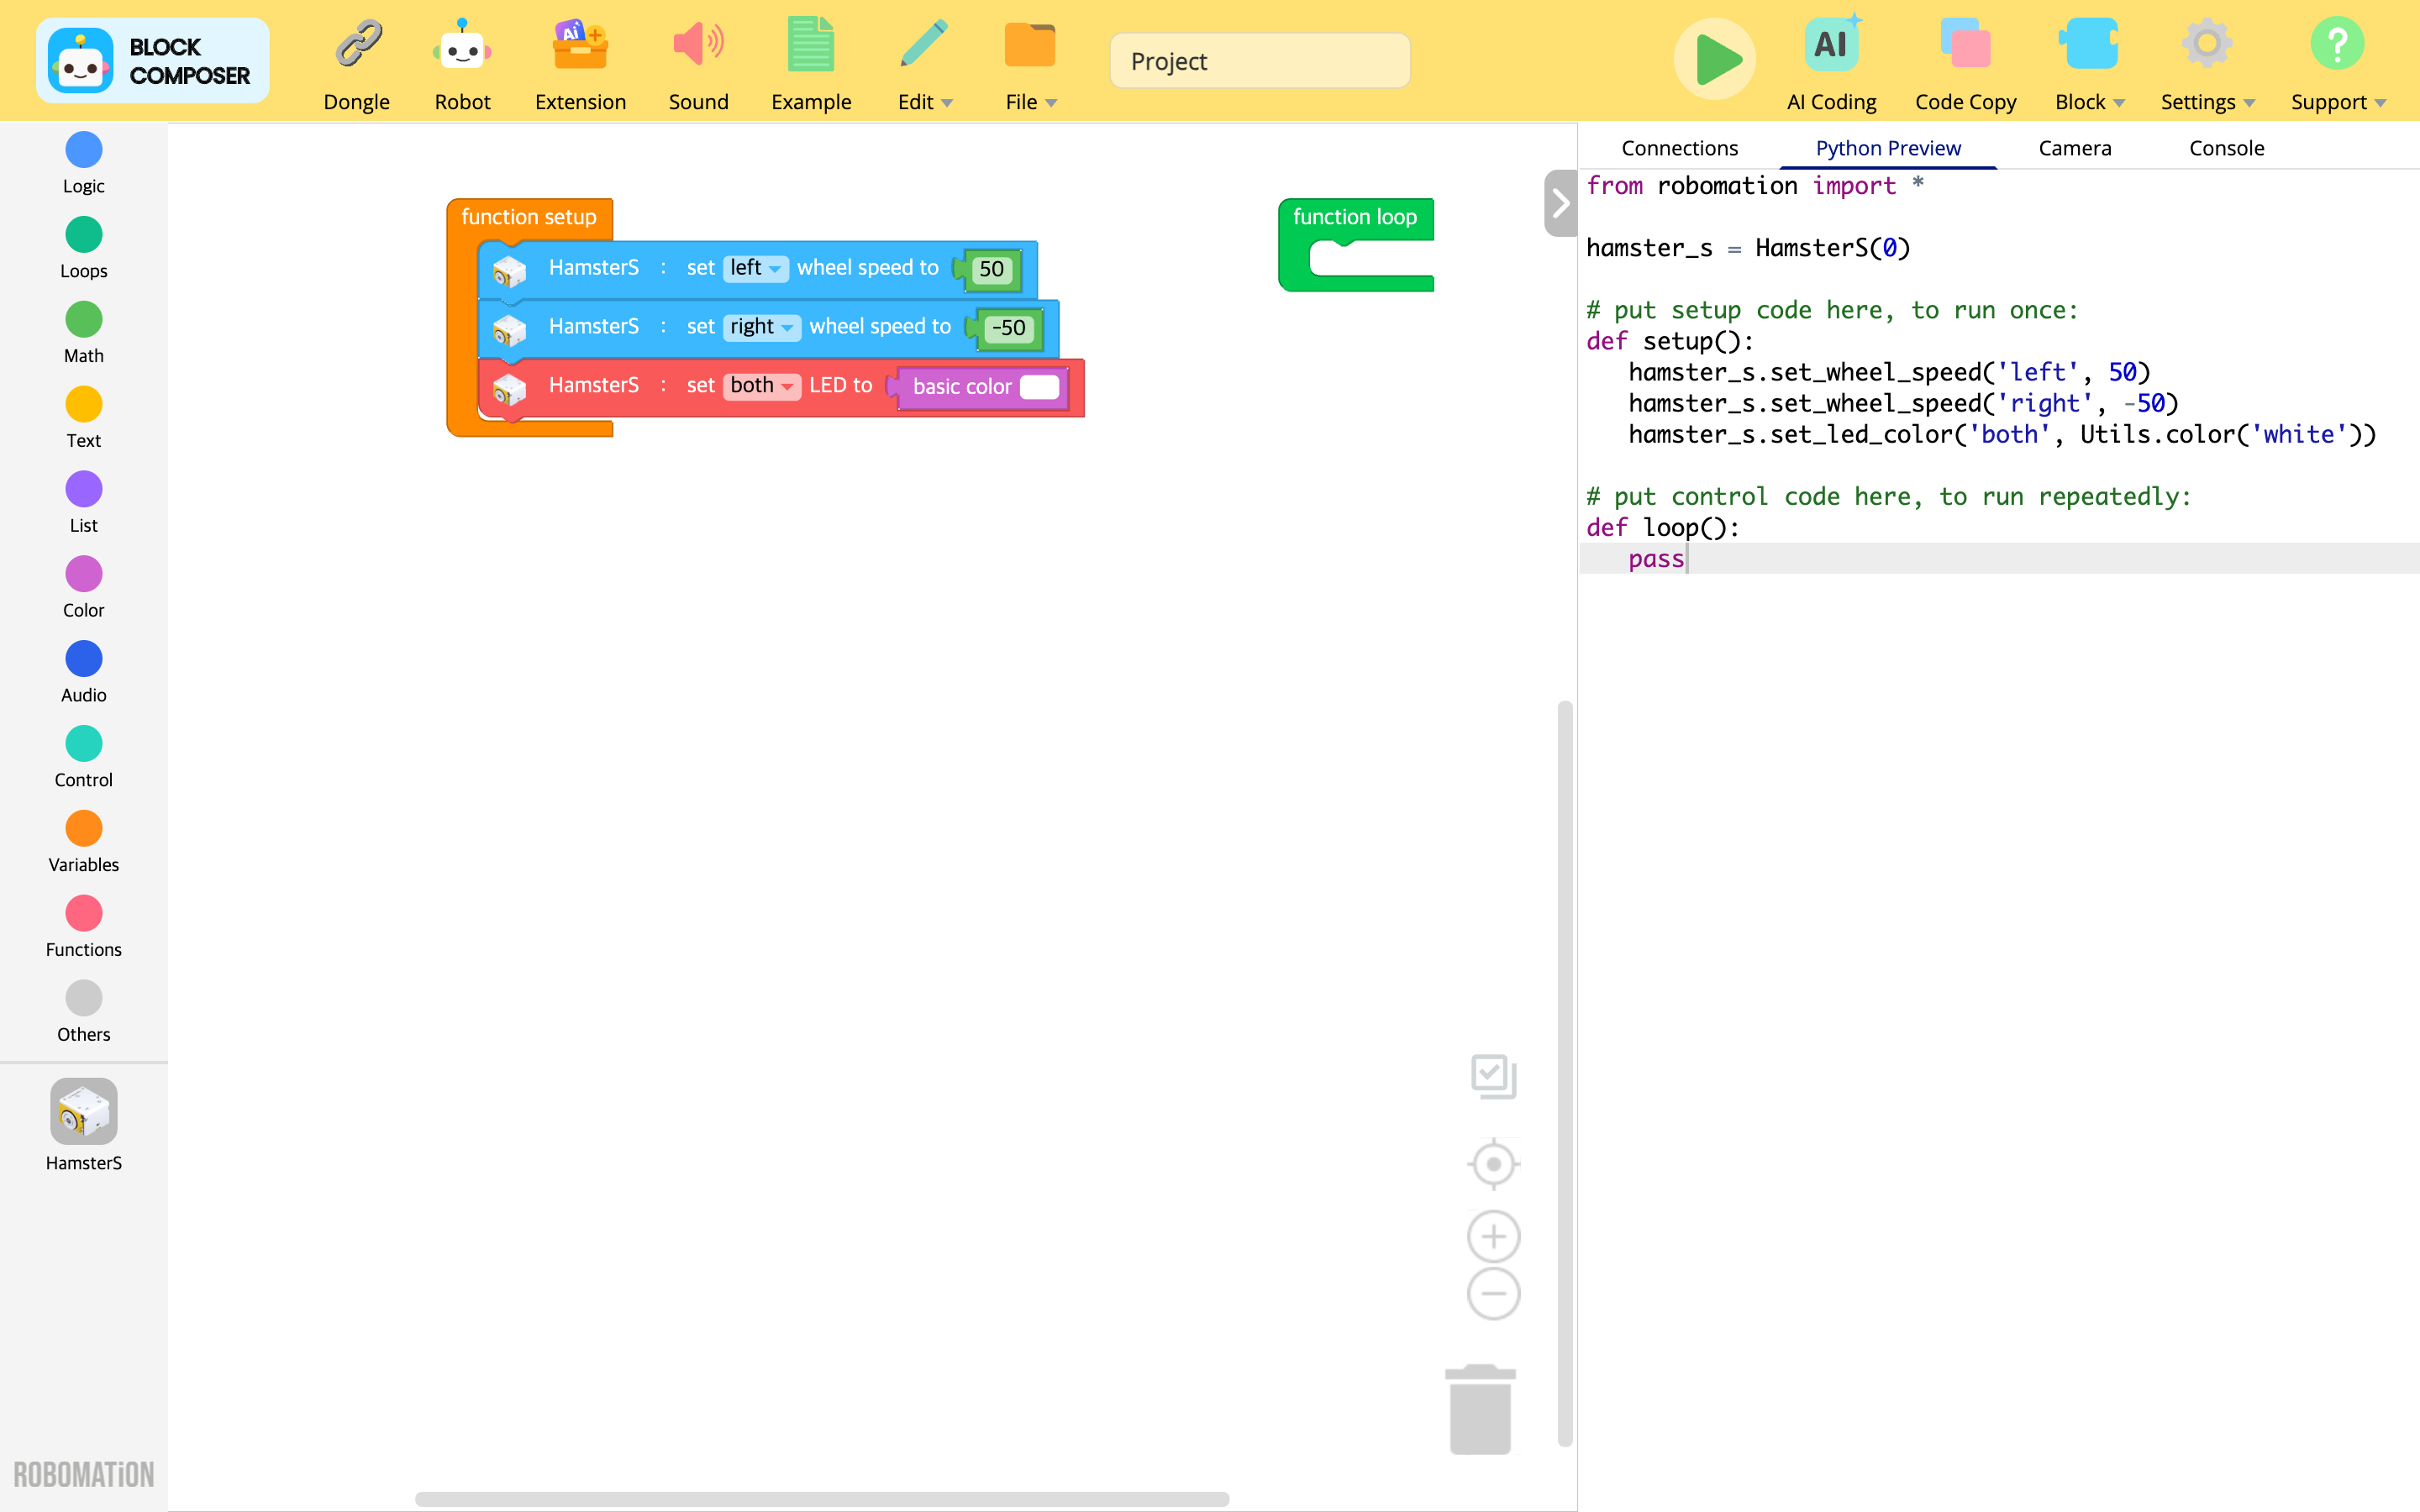
This is the area where you can assemble the blocks you brought from the block palette.
The assembled blocks are converted into Python code in real time,
and when you run the code, that code is interpreted so it can move and control the robot.
The basic block structure
When you code in the block coding editor, you must follow the basic structure below.

The block coding editor interprets and runs the code inside the function setup and function loop function blocks.
So you must write your code by putting blocks inside the function setup and function loop function blocks.
function setup
Inside the function setup block you define the actions to perform at the start when the code runs.
Using the wait block, you can have actions performed in time sequence.
function loop
Inside the function loop block you define the actions to perform repeatedly while the code is running.
The actions you define are repeated once every 10 ms.
⚙️ Note
(Apart from the custom functions you created through the Functions category)
Blocks that sit outside the function setup or function loop function blocks have no effect when the code runs.
How to use blocks
Adding a block
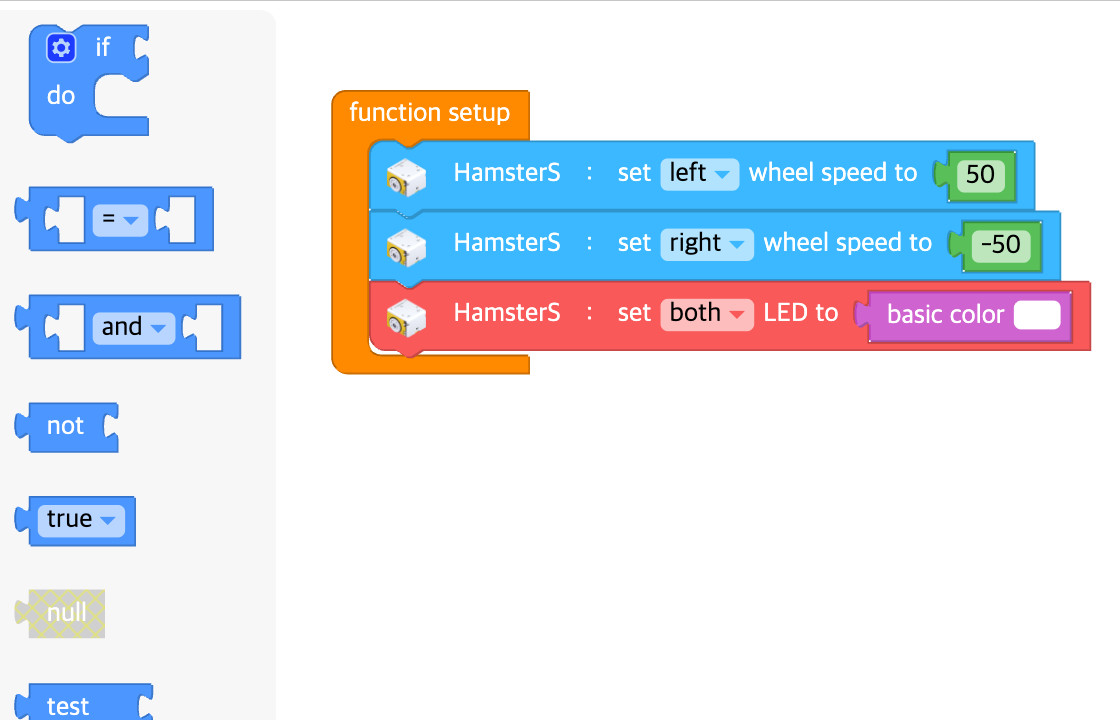
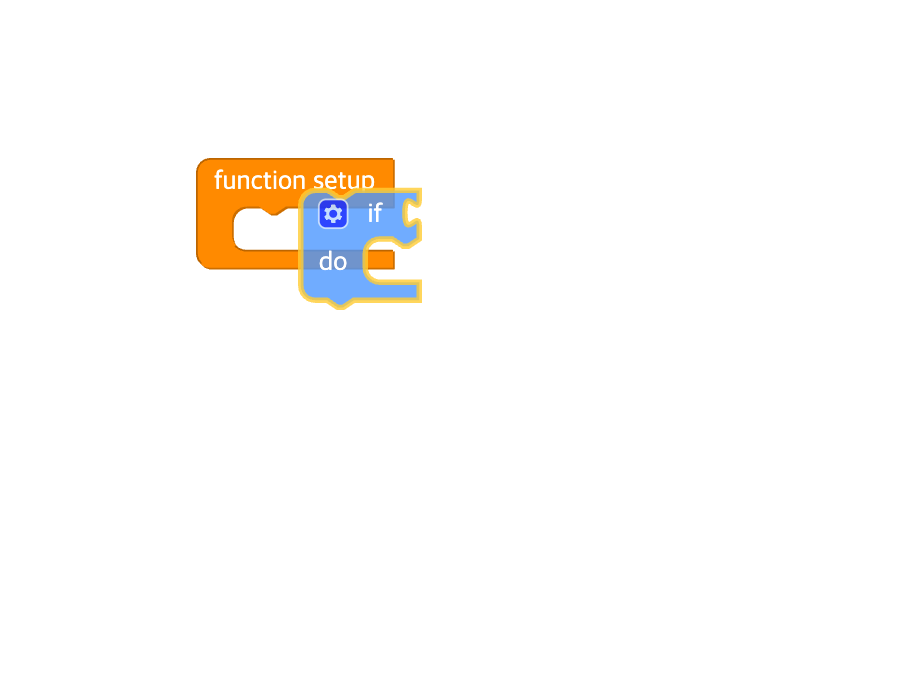
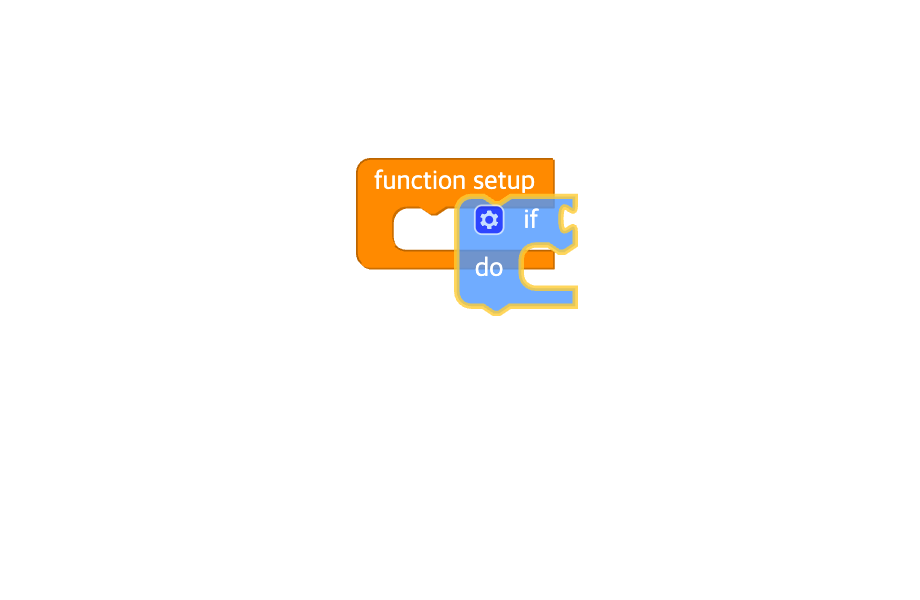
You can add a block by dragging it from the block palette and dropping it into the editor.
Copying / pasting blocks
There are two ways to copy and paste blocks in the editor.
Select a block and press Ctrl+C to copy the selected block.
Press Ctrl+V to paste the last block you copied into the editor.Select a block and press the 'Copy Ctrl+C' button in the Edit menu to copy the selected block.
Press the 'Paste Ctrl+V' button in the Edit menu to paste the last block you copied into the editor.
Deleting a block
There are three ways to delete a block in the editor.
Select a block and press the Backspace key to delete the selected block.
You can delete a block by dragging it in the editor and dropping it onto the block categories.
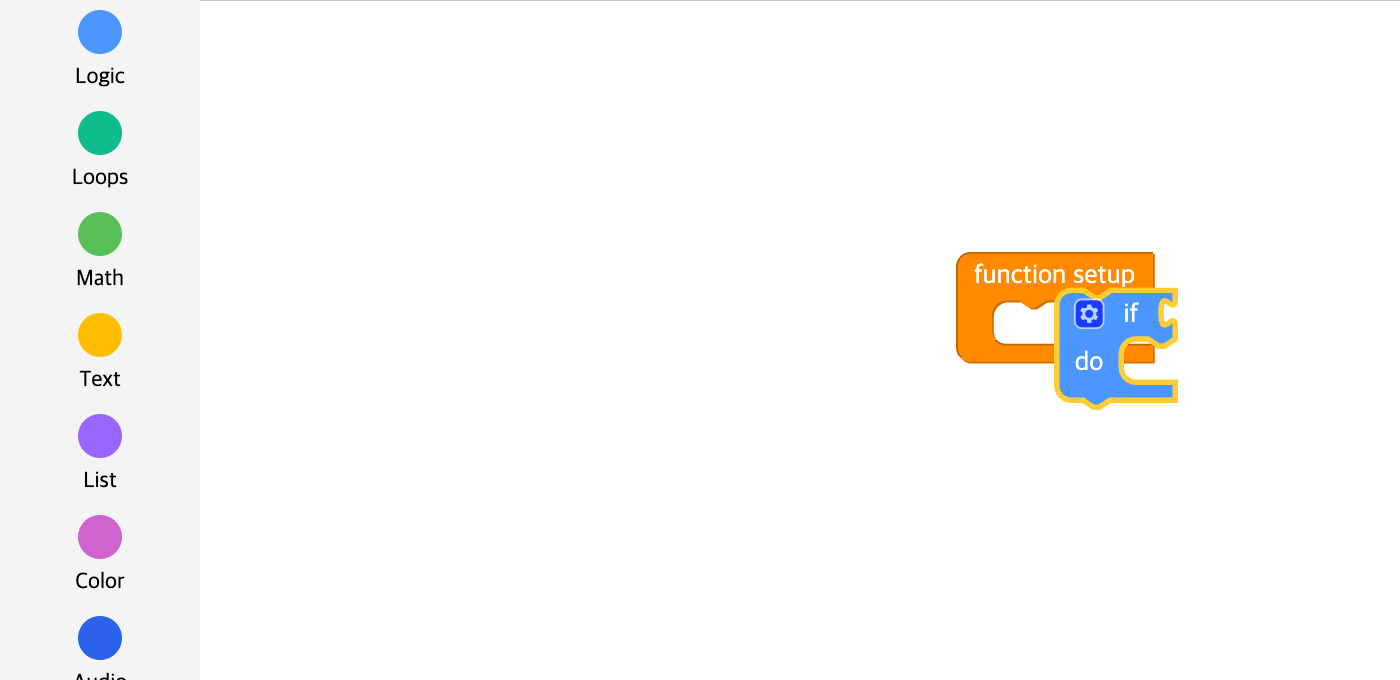
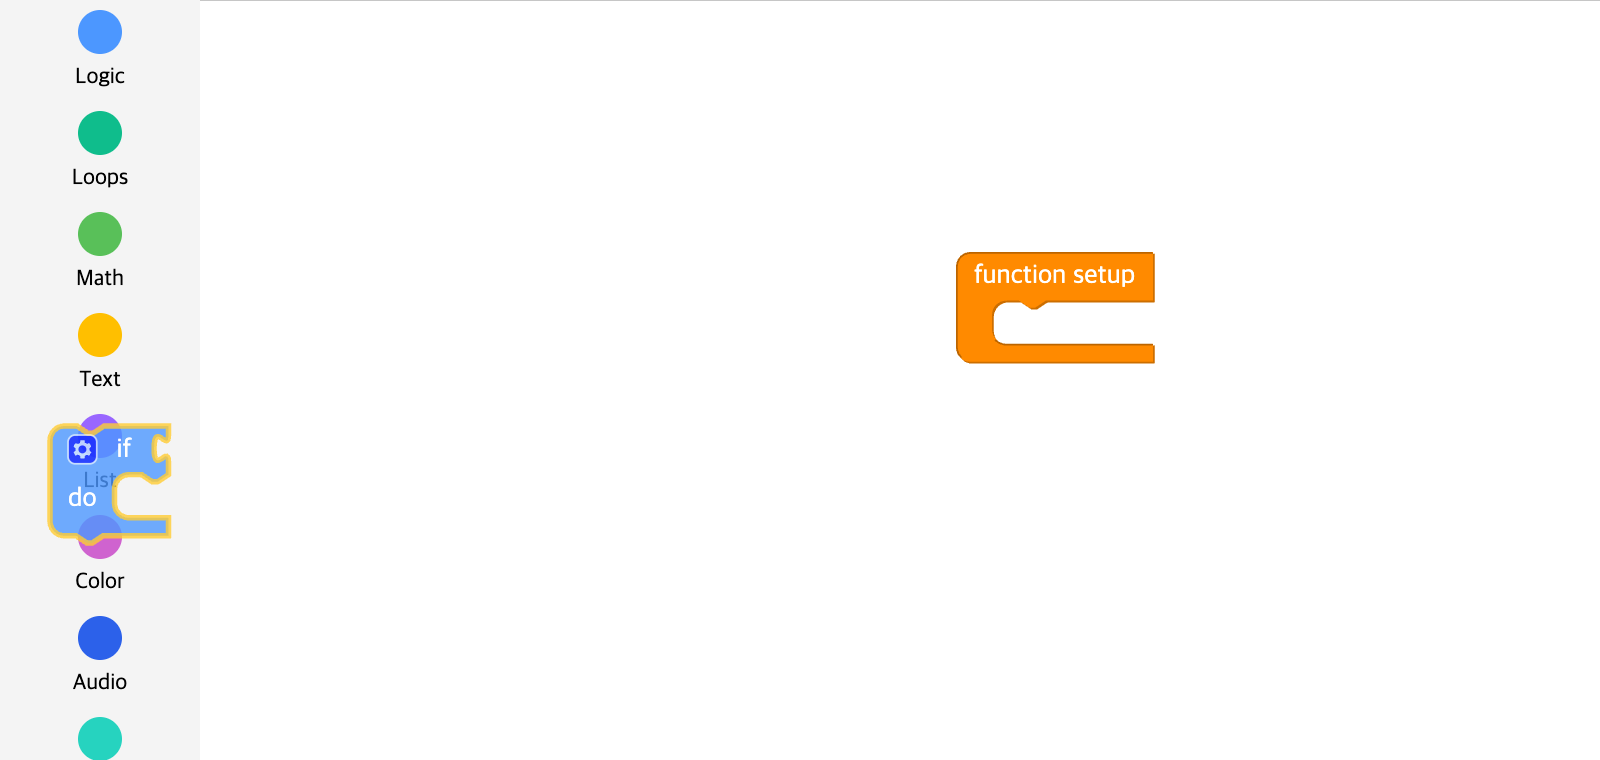
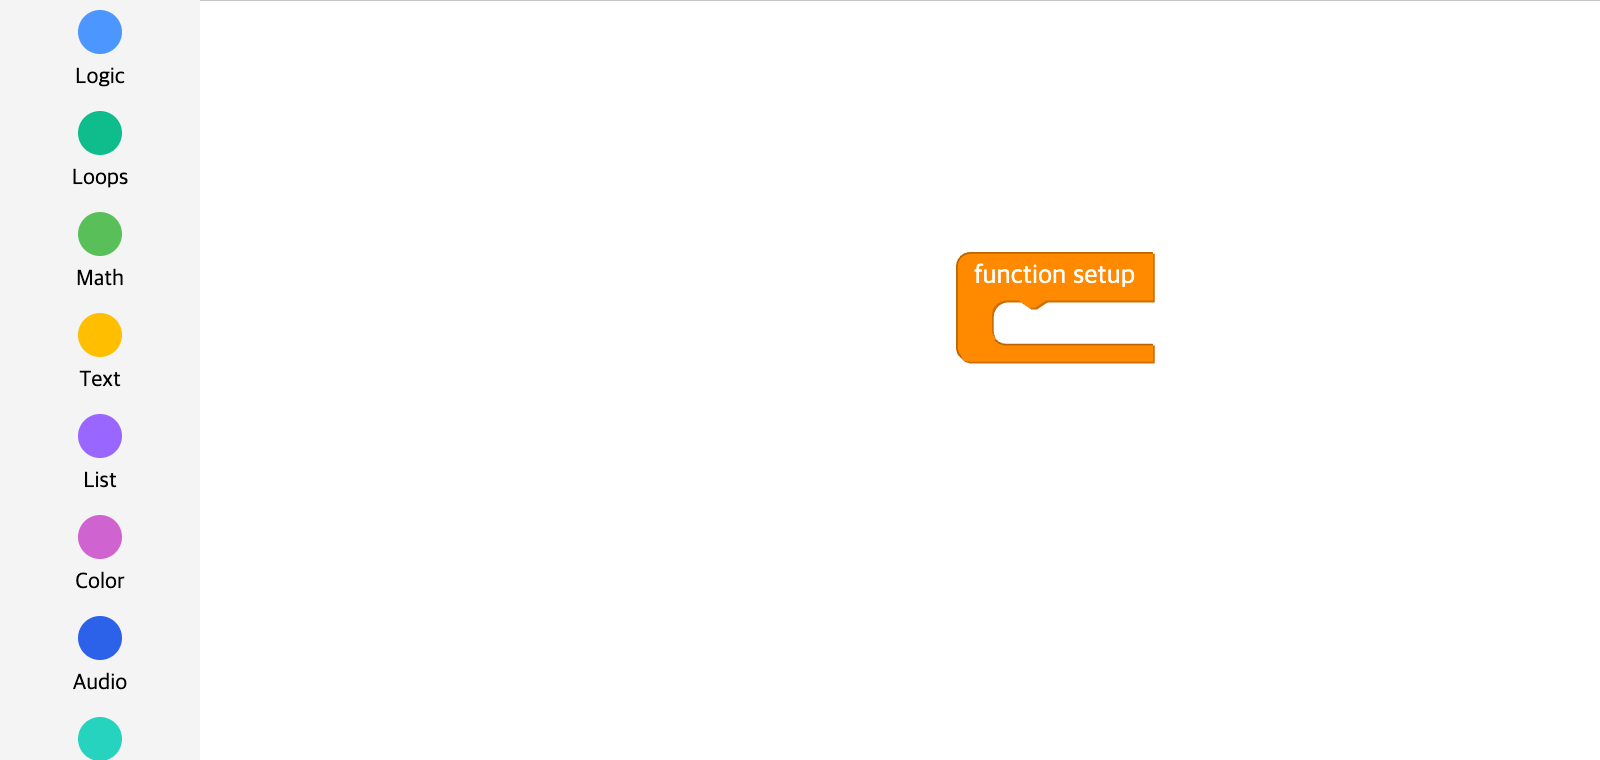
- You can delete a block by dragging it in the editor and dropping it into the trash.
You can find deleted blocks again in the trash.

Selecting several blocks at once
There are two ways to select several blocks at once in the editor.
Holding down the Shift key while dragging over the workspace or clicking blocks one by one
lets you select several blocks at once.You can turn the 'select multiple blocks' mode on or off by clicking the check button at the bottom right of the workspace.
If the button is filled with color, the mode is on.
If the button is not filled with color, the mode is off.
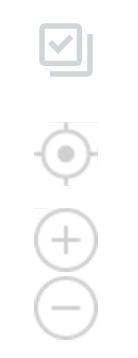
While the 'select multiple blocks' mode is on, you can only select blocks.
To move or edit the several selected blocks at once, you must turn the mode off after finishing your selection.
Extra options
In addition, if you right-click a block,
you can find various extra options such as collapse/expand the block, enable/disable it, and Help.
The Python editor
The code palette
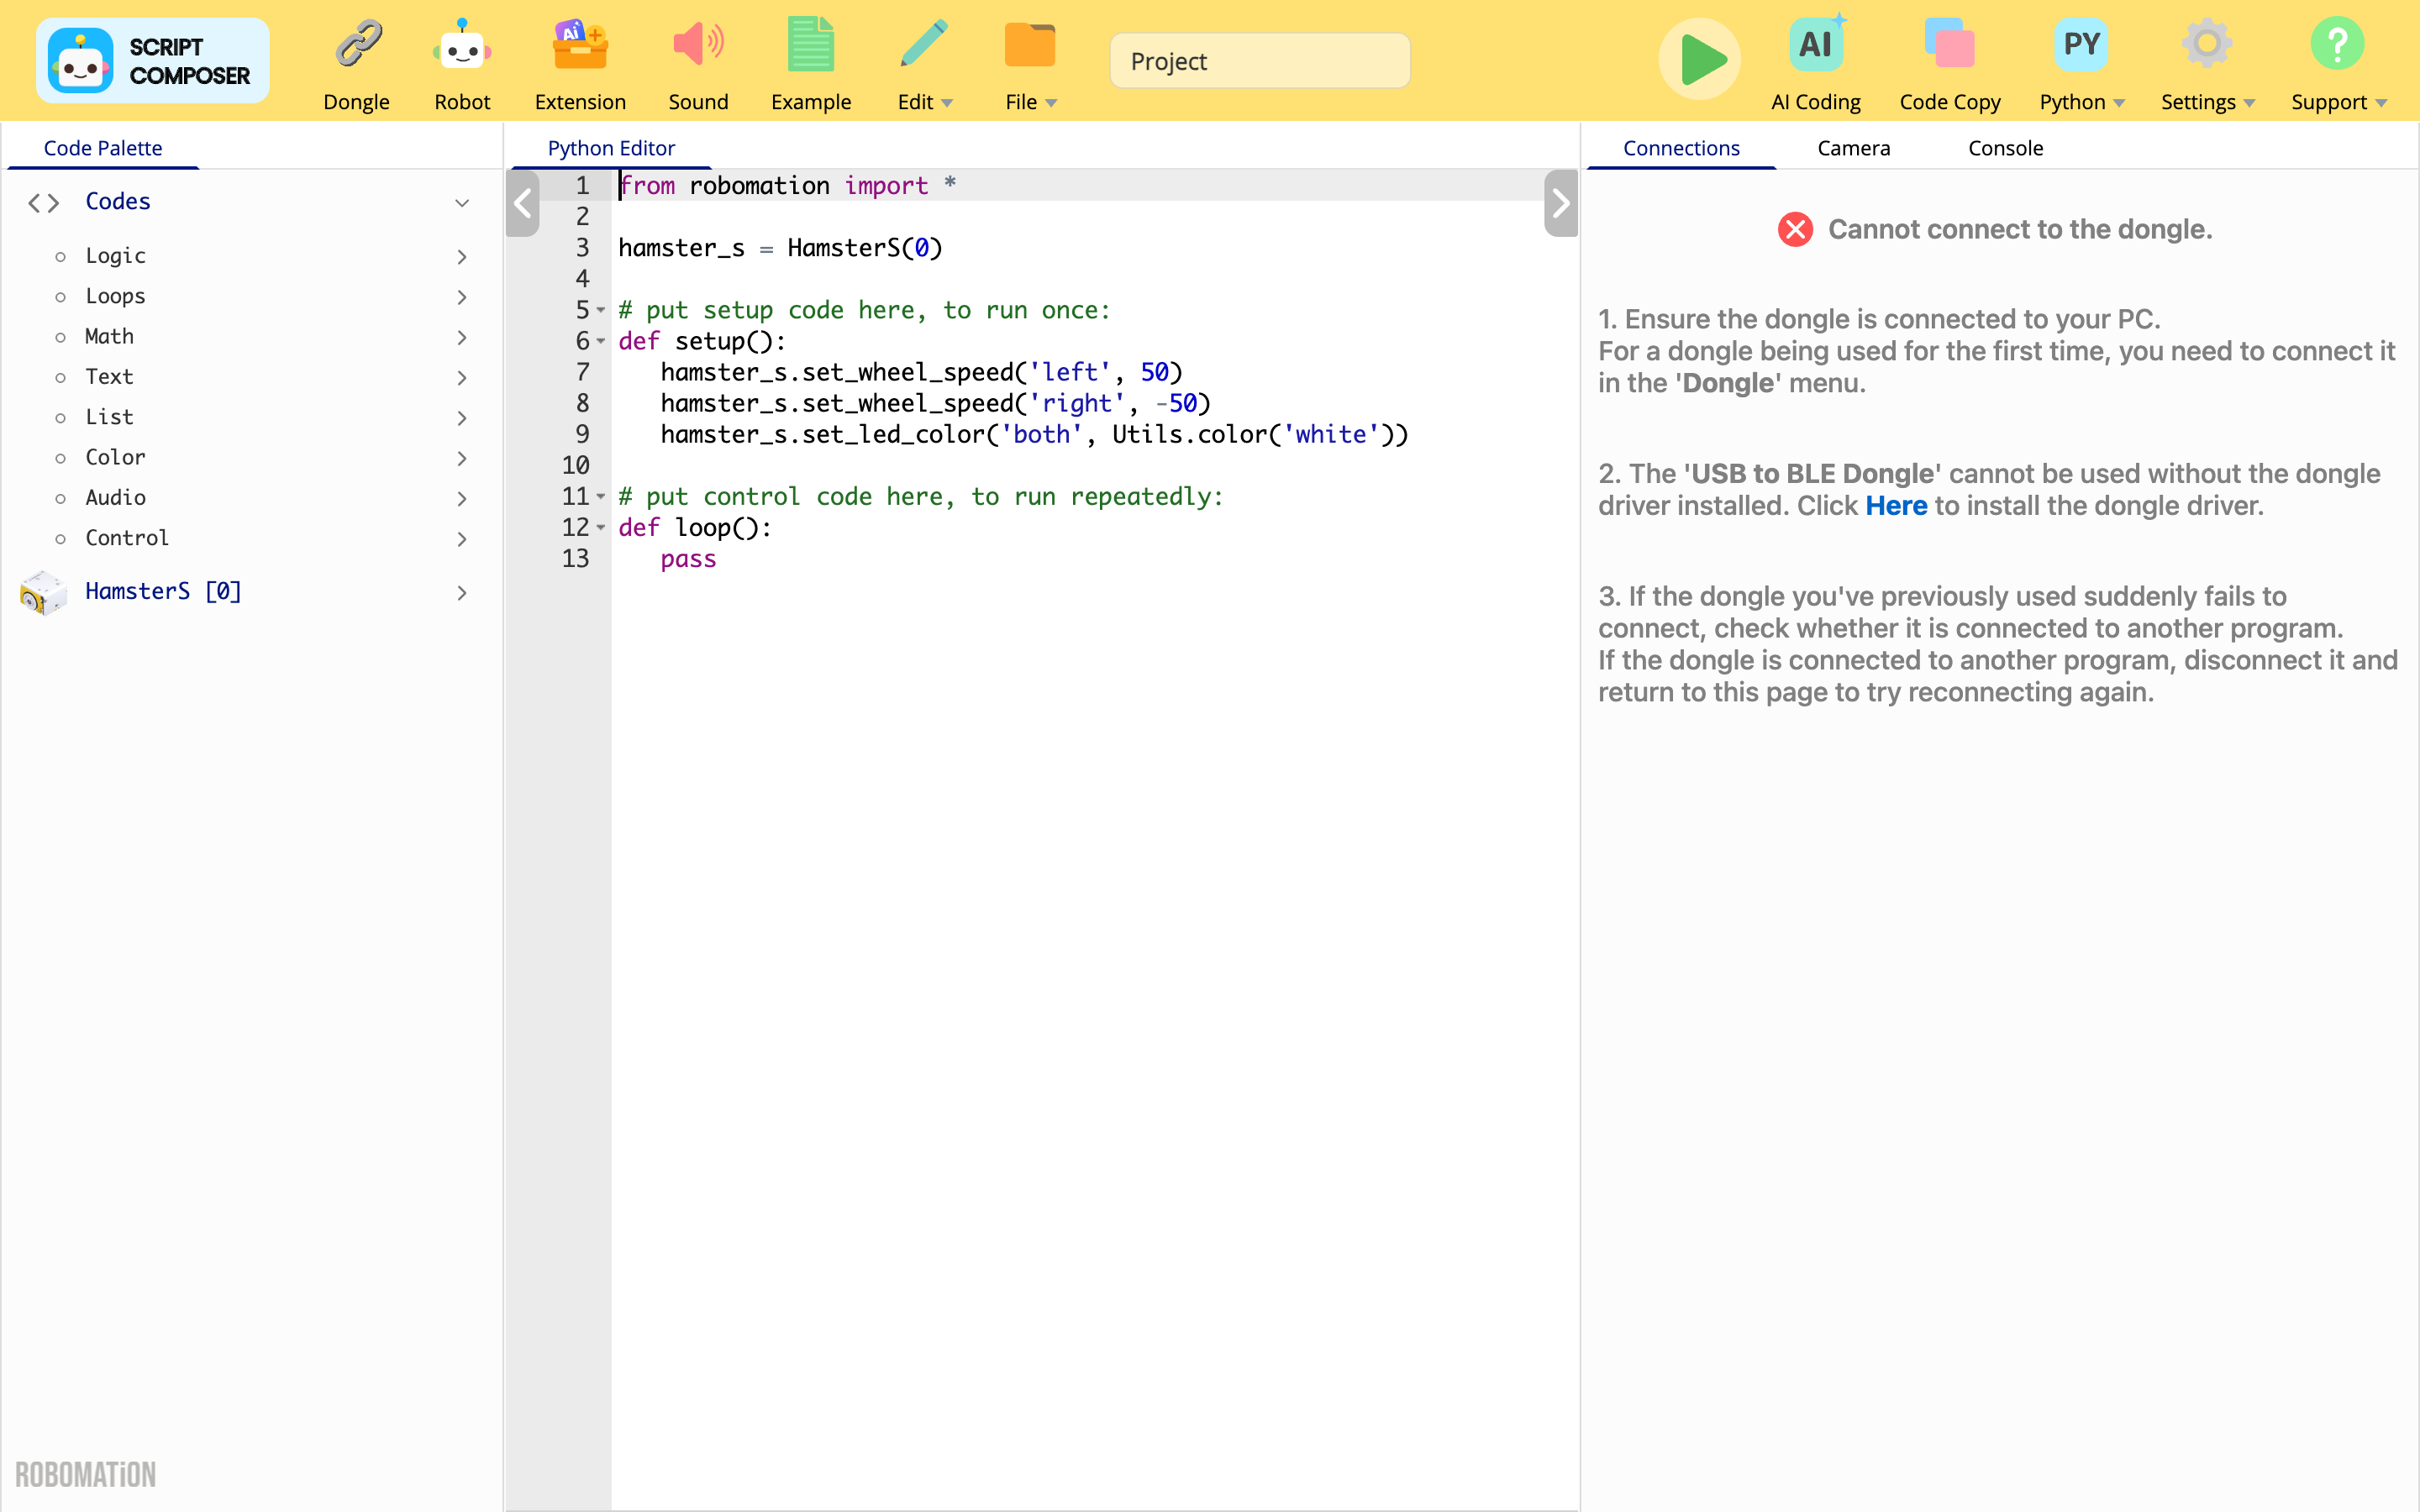
This area organizes the basic functions needed for robot coding and the Python code dedicated to robots / extension modules into categories.
The following are the kinds of code category provided under the basic functions (Codes).
- Logic (logic)
- Loops (loops)
- Math (math)
- Text (text)
- List (lists)
- Color (color)
- Audio (audio)
- Control (control)
The code provided under the basic functions performs exactly the same roles as the basic blocks of the block coding editor.
⚙️ Note
You can find how to code in the Python editor using the code palette in How to use the code palette.
The code editor
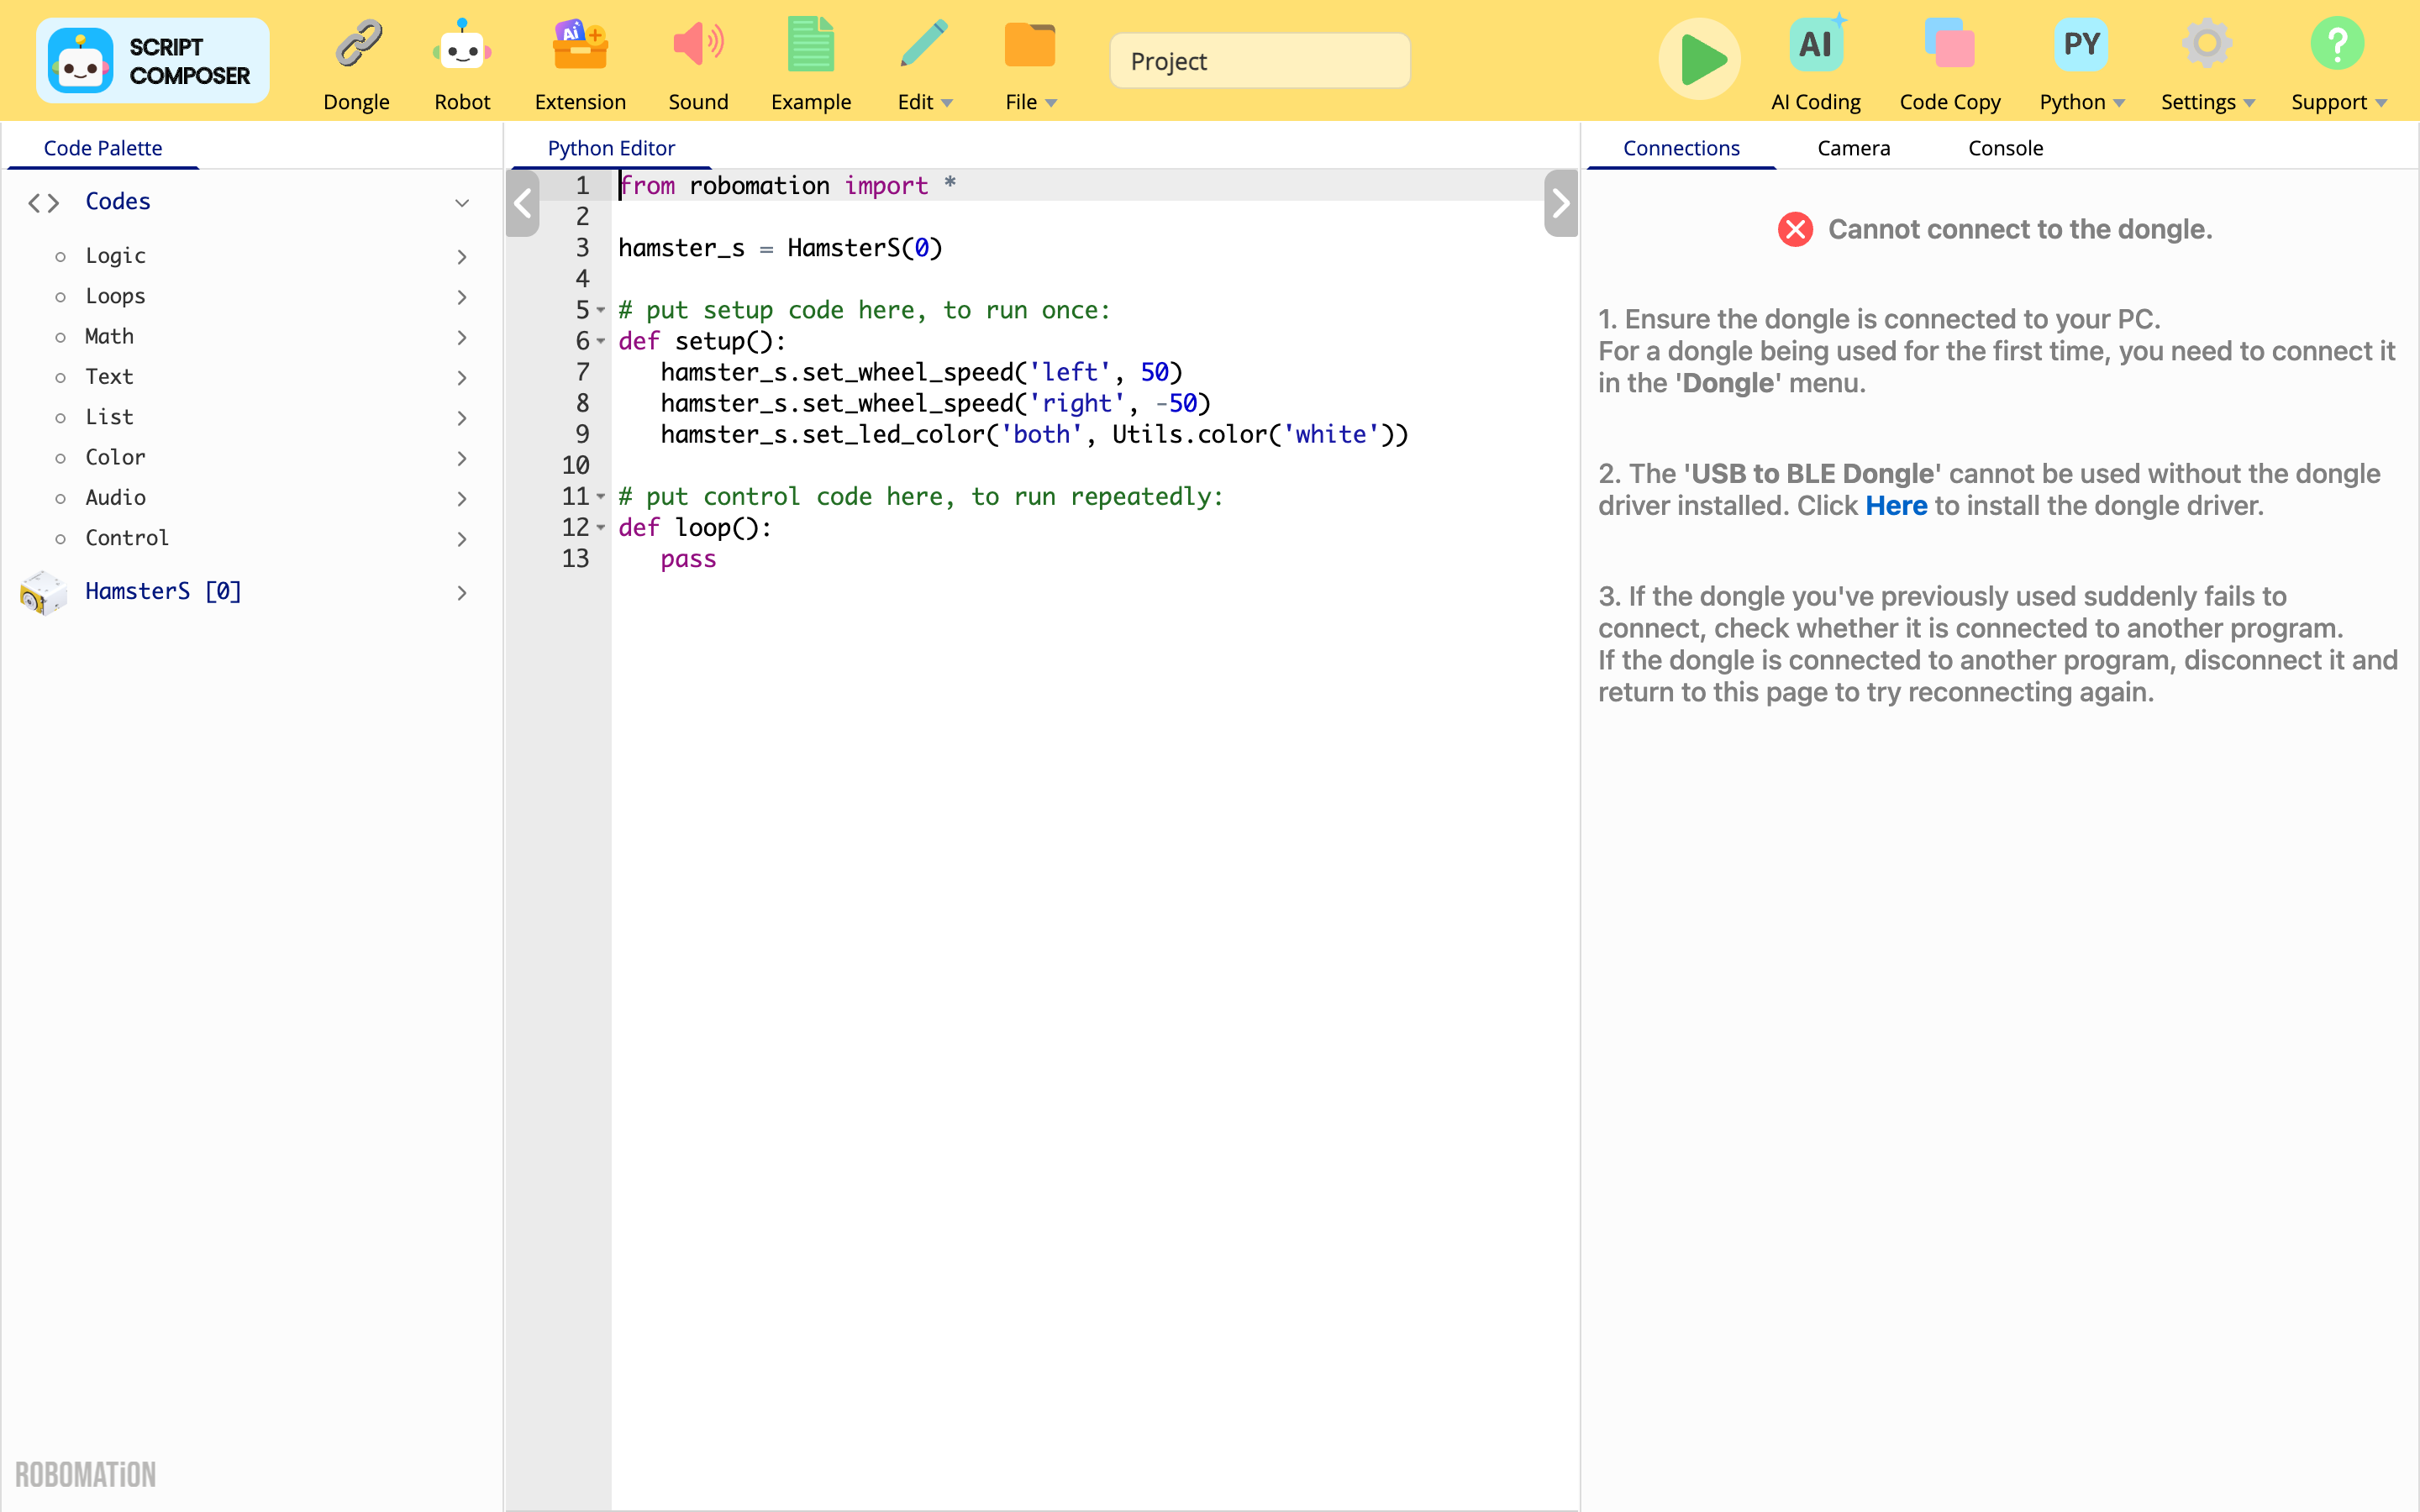
This is the area where you can write the code that controls the robot.
If you choose the Python editor in Editor settings, you can write Python code.
The basic code structure
When you code in the code editor, you must follow the basic structure below.
from robomation import *

# (If there is a robot to use, declare it as an instance — example)
hamster_s = HamsterS(0)

# put setup code here, to run once:
def setup():
    pass

# put control code here, to run repeatedly:
def loop():
    pass
The code editor interprets and runs the code inside the setup function and the loop function.
So you must write your code inside the setup function and the loop function.
Also, to control a robot you must put from robomation import * at the very top of the code and declare the robot you will use as an instance.
setup
Inside the setup function you define the actions to perform at the start when the code runs.
Using the Utils.wait function, you can have actions performed in time sequence.
loop
Inside the loop function you define the actions to perform repeatedly while the code is running.
The actions you define are repeated once every 10 ms.
How to use the code palette
Below we explain how to use the code palette in your coding, with a simple example.
Finding the code you want
The code palette provides a variety of functions and code needed for robot coding.
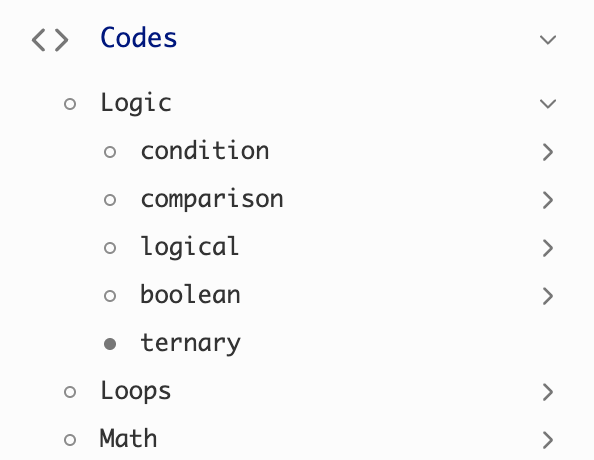
If you look at the menus inside the Codes category, you can see menus that have a  icon.
If you click the Logic menu once, the icon changes to  and the submenus inside it expand so you can see them.
A menu that has submenus like this is called a 'category'.
If a menu has no icon — like ternary inside the Logic category — it means there are no more submenus inside that menu.
A menu that has no submenus like this is called a 'code'.
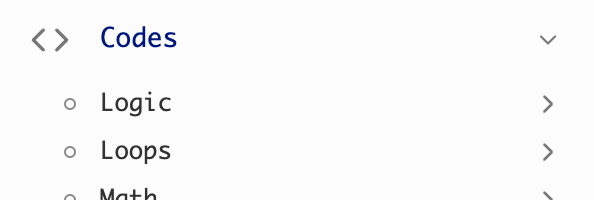
If you click again on a category whose submenus are expanded, the icon changes back to and the submenus are hidden.
By following the categories this way, you can find the code you want in the code palette.
Inserting code into the editor
Here is how to insert code into the editor.
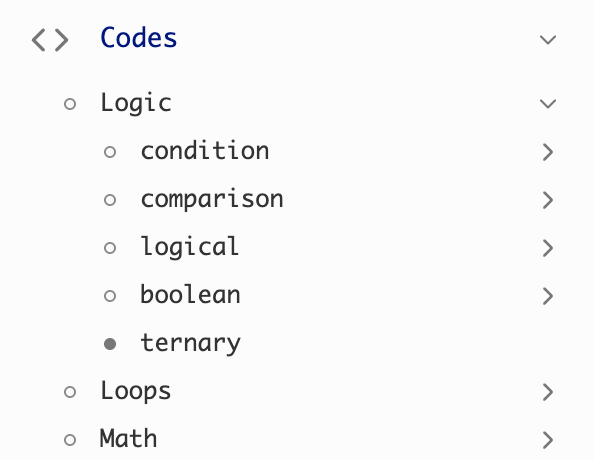
A menu with a  icon to the left of its name means a menu that has no selectable code options.
Most category menus that have submenus fall into this group.
A menu with a  icon to the left of its name means a menu where you can select code options.
Most code menus that have no submenus fall into this group.
If you right-click the code you want to insert into the editor, you can see the options available.
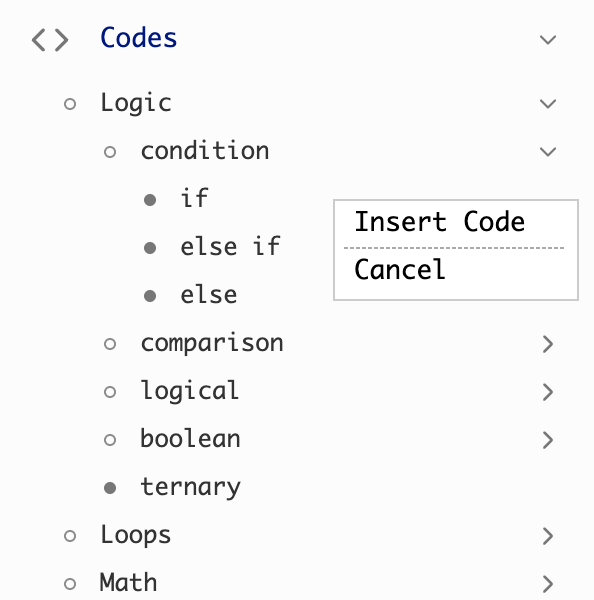
If you right-click a code menu, you can see the same options below, whether it is a basic function or code dedicated to a robot / extension module.
- Insert Code: inserts the selected code at the cursor position in the editor.
- Help: shows the help that explains how to use that code.
- Cancel: closes the option menu.
For code dedicated to a robot / extension module, choosing Insert Code inserts it as a method call on that robot's instance.
( For example, HamsterS's set_wheel_speed → hamster_s.set_wheel_speed('both', 50) )
⚙️ Note
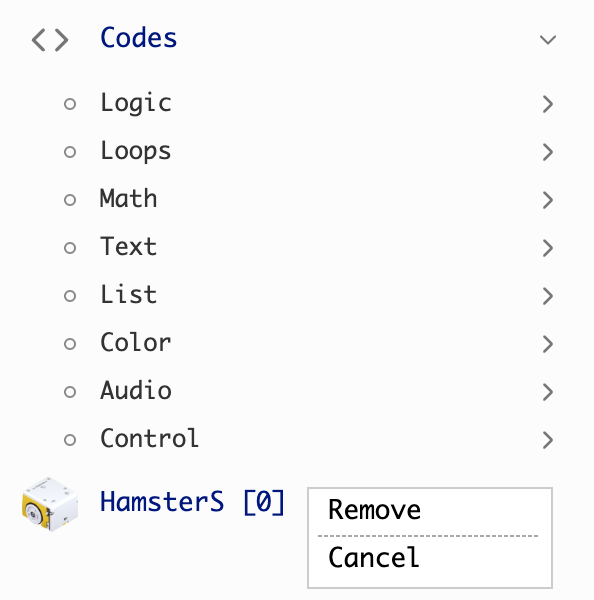
For code categories dedicated to robots / extension modules you added to the program that you no longer use,
you can remove them from the code palette with right-click → Remove.